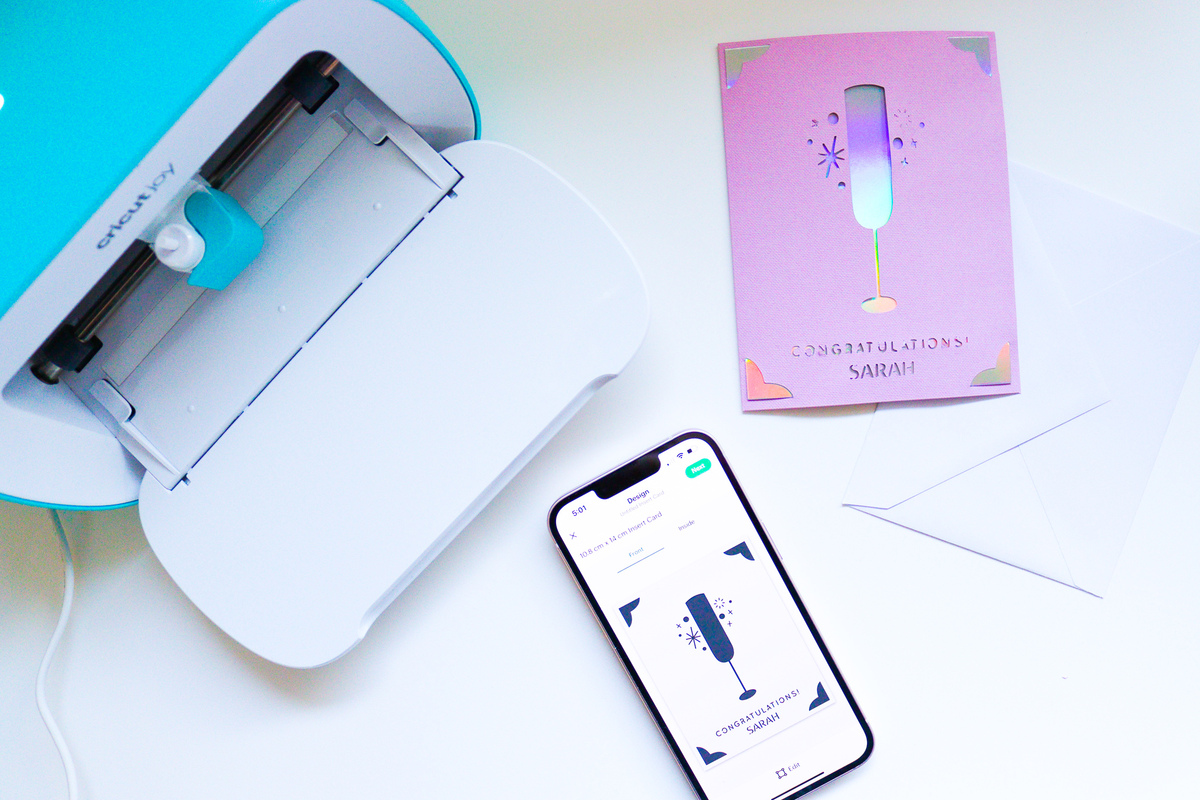
The Cricut Joy App is an easy way to create quick projects with your Cricut Joy machine. The latest update to the Cricut Joy App allows you to create your own insert card designs. It’s now easier than ever to personalise your cards, add your own sentiments, and even add writing inside the card!
The Cricut Joy App guides you through choosing your insert card corners, adding images and text, then all of the steps you need to create your card.
Here’s our guide on how to use this new feature in the Cricut Joy App!
You Will Need
How to make
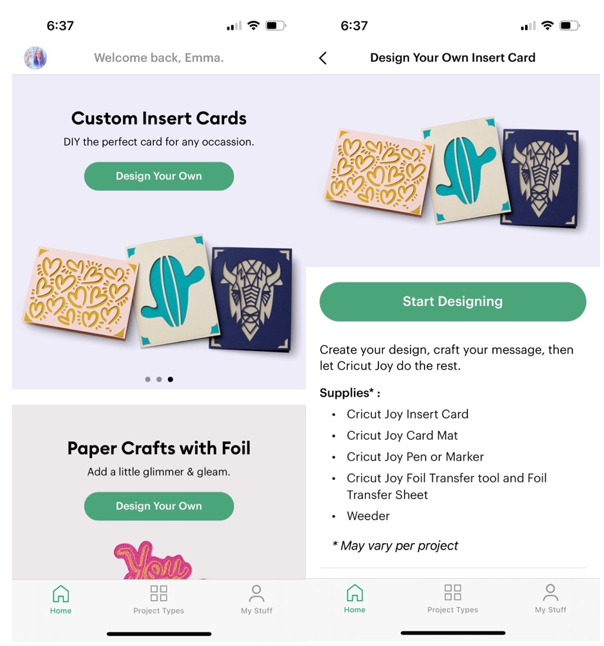
- Open up the Cricut Joy app, select ‘Design your own’ Underneath Custom Insert Cards. Then click ‘Start Designing’, to begin creating your own insert card.
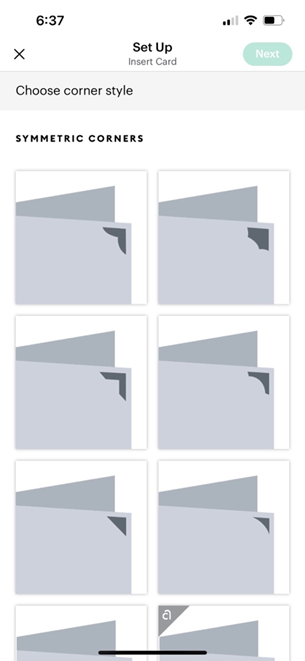
2. First choose the style of corners that you would like your card to have.
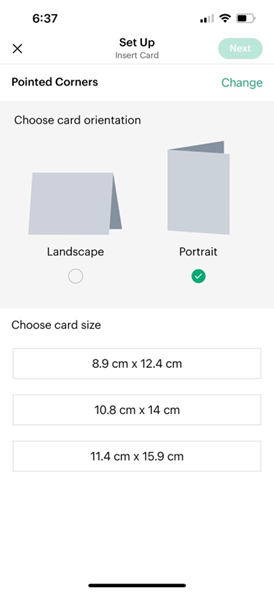
3. Then decide on the orientation of your card and the size of card that you would like to create. Be mindful to select the size of the insert card packs that you have purchased.
4. Next add images and text to your card. You can completely customise your card for any occasion adding all the elements inside the card template shown on screen.
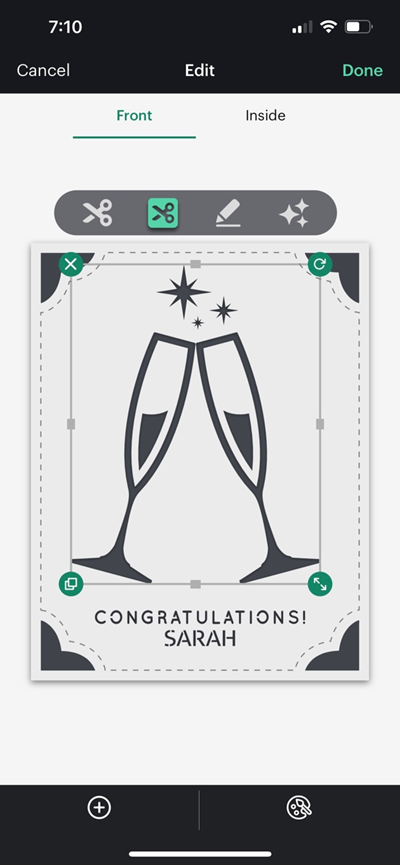
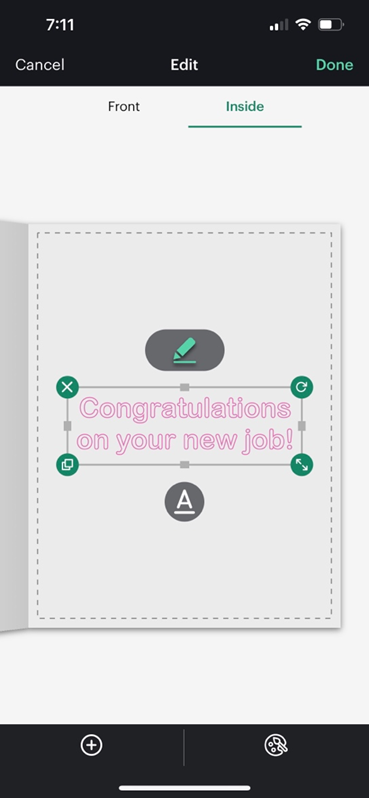
5. Once you have designed the front of your card, click ‘Inside’ to add text to the inside of the card.
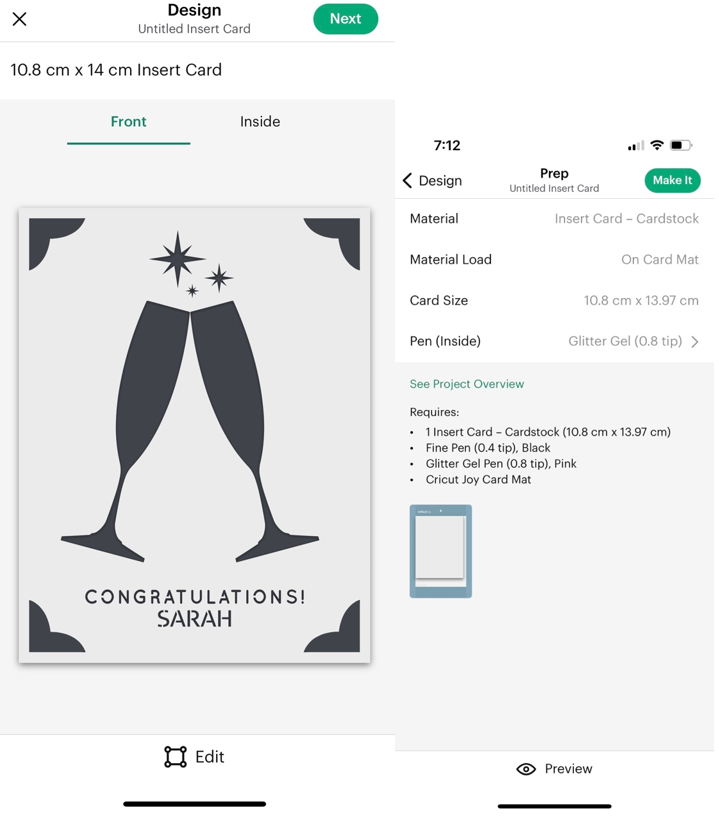
6. On the next screen check that your card and the card details are correct. Then head to ‘Make It’ to start making your card with your Cricut Joy machine.
Time to make!
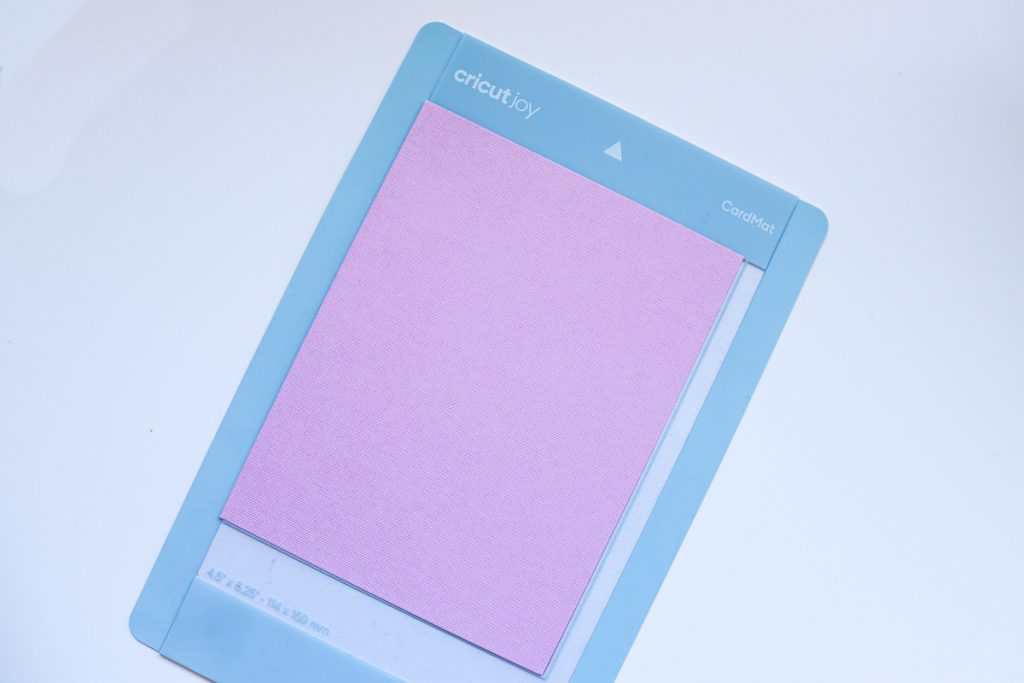
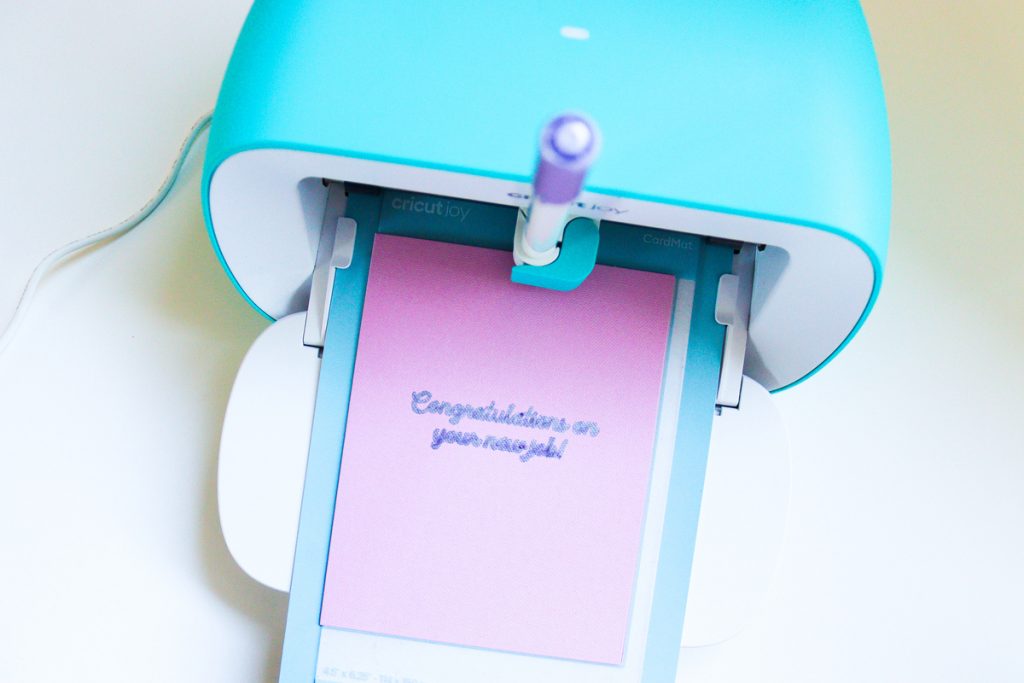
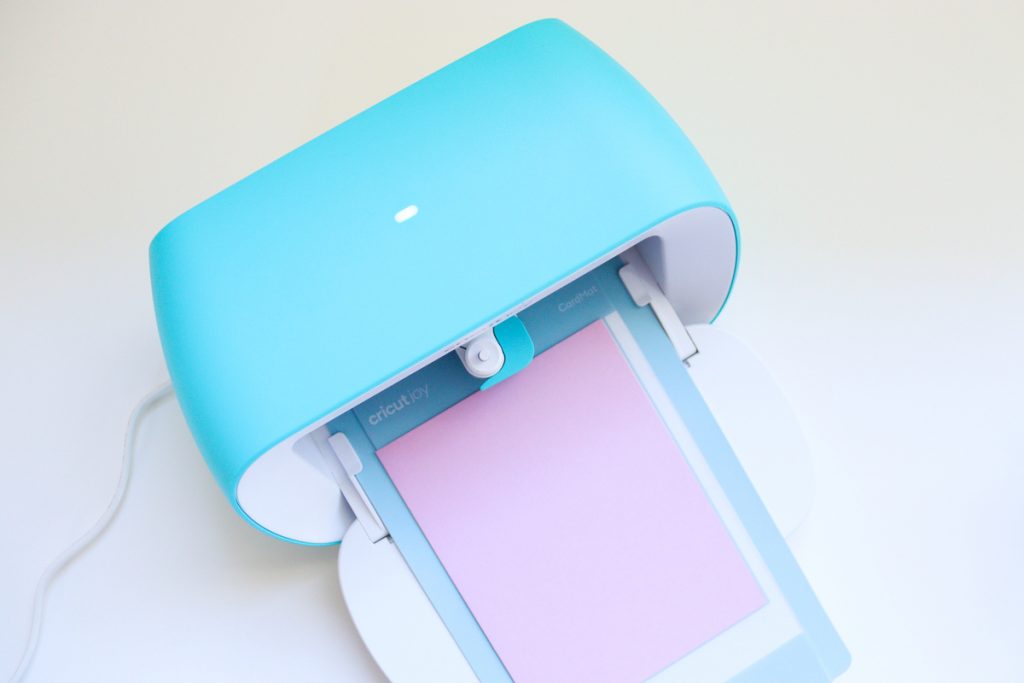
7. Set up the insert card in the Cricut Card Mat by sliding the folds of the card in between the sleeve of the mat and making sure the front of the card is well stuck down to the mat. If you added text onto the inside of the card, it may ask you to do this first. If so, be mindful which way round you insert your card to ensure it is putting the correct details on each side of the card.
8. Following your on-screen instructions, you should be asked to insert your pen first into the Cricut Joy machine. Remove the blade from your Cricut Joy and insert the pen into the tool port, then close the clamp.
9. If you created inside text, remove the Card Mat from the machine once complete and flip the card over so that the front of the card is now on top of the Card Mat Sleeve with the back of the card behind the sleeve.
Next switch the pen with the blade, then click go on your device so that the machine can start cutting.
10. Once the machine has finished cutting remove the mat from the machine. Gently remove the card from the mat be gentle as you go and you may even want to use your spatula tool to help lift certain parts of the card. Add the insert card to all four corners of the card. All that’s left to do is to write a note inside the card and send it to a loved one!

Discover More on Cricut Joy
Want to learn more about Cricut Joy? See all about the Foil Transfer Kit for Cricut Joy here.