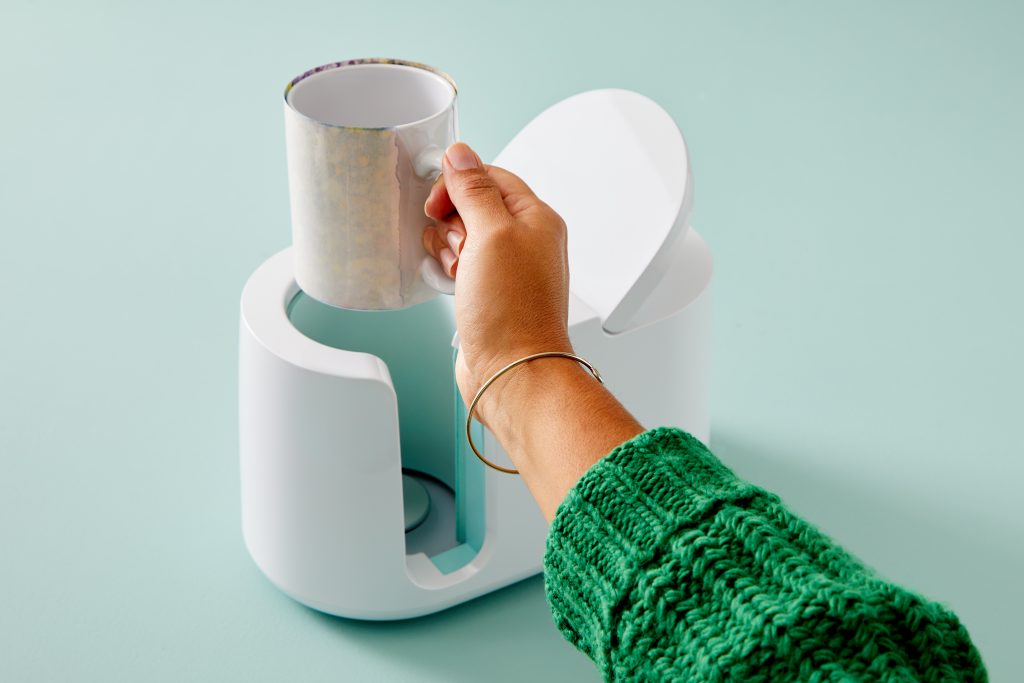
The Cricut Mug Press™ is now available in the UK and Ireland! We’re so excited about being able to make professional quality, personalised mugs for every occasion, with ease, at home!
What is the Mug Press?
Visit our introductory post to find out all about Cricut Mug Press and our first tutorial post here. In this post we will share with you a few more handy links to helpful articles plus tips for using your Cricut Mug Press.
We’ll cover:
- How to use Cricut Mug Press
- Where to find Cricut Mug Press designs
- How to use the Mug Design Set Up project
Tell me more about how to use Cricut Mug Press
You will find this YouTube playlist extremely helpful when using yourCricut Mug Press for the first time or finding out more about how to make your own mugs.
There are ten short videos taking you each step of the mug-making process, each one just a few minutes long so you can get to grips with how it works quickly. They’re great to watch back the first few times you’re making mugs just so you can remind yourself of the process.
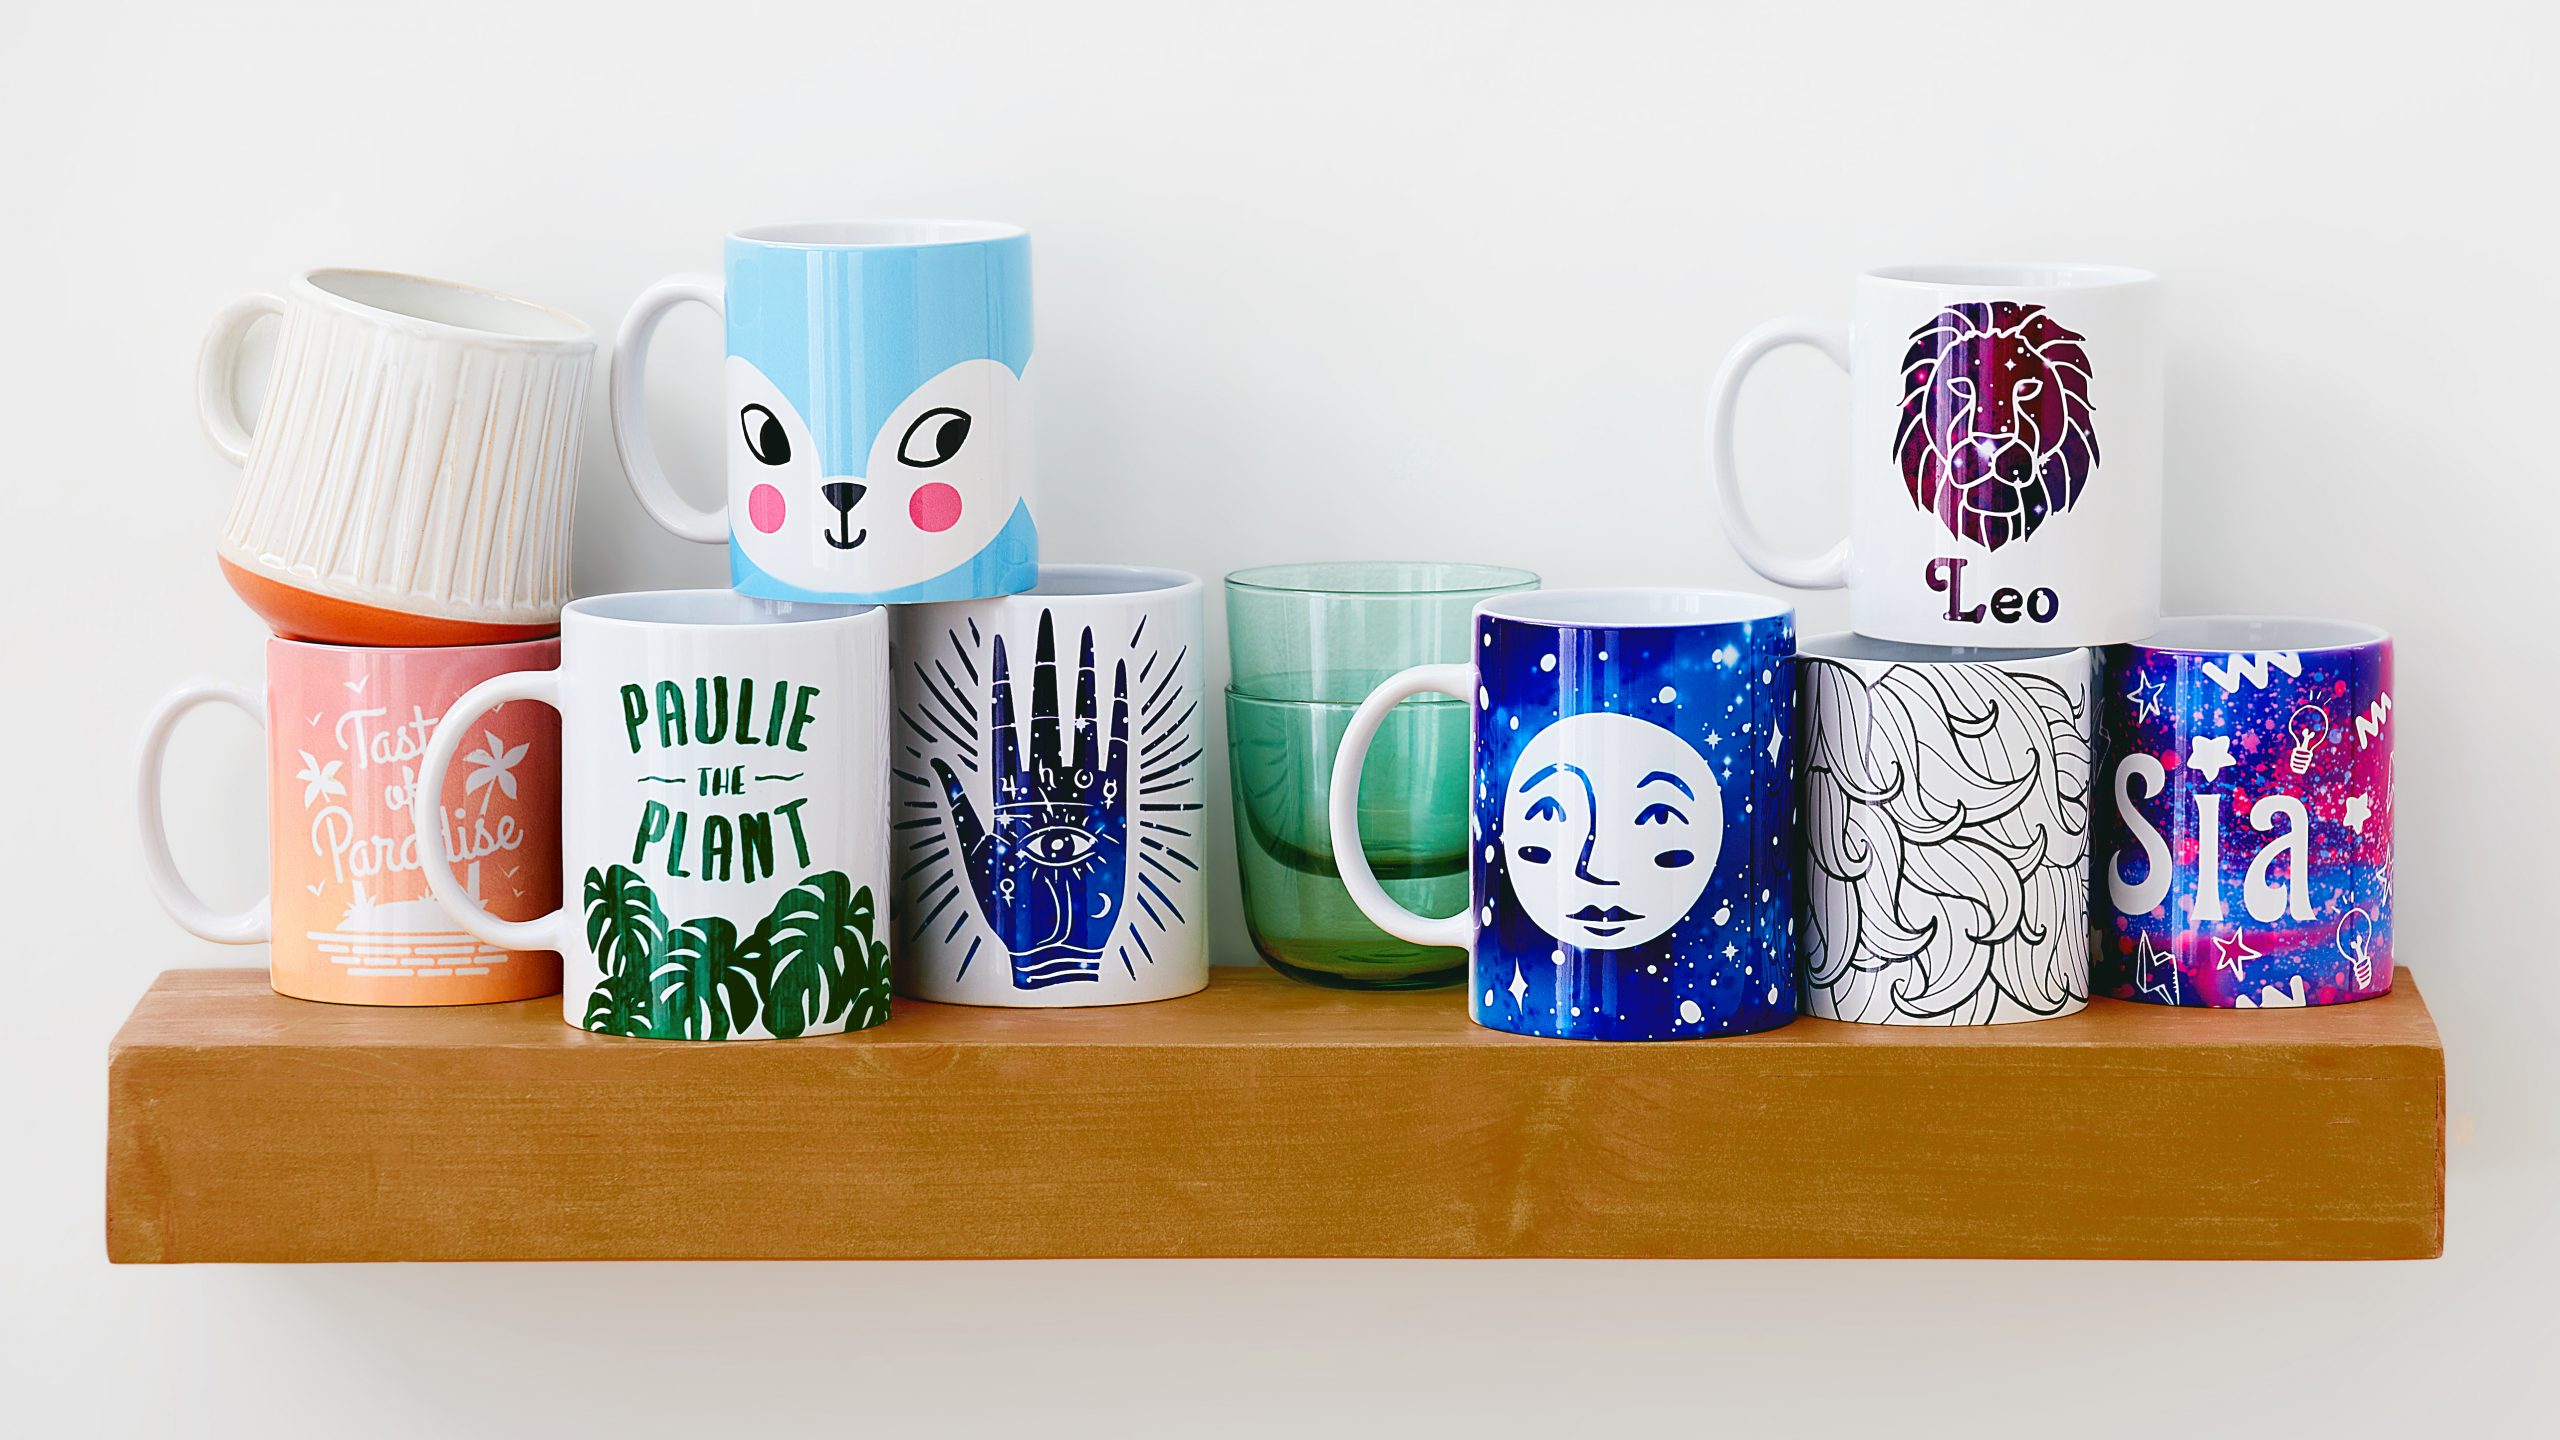
Where can I find Mug Press designs in Design Space?
When you are ready to make your first mug, you will find projects and images set up ready for you to get started in Cricut Design Space.
You can find lots of ready-to-make Mug Press projects by heading to ‘Projects’ and filtering by ‘Infusible Ink’ to see all the latest available. There is even a Mug Design Setup project that creates a template for you, so you can personalise your own, exactly how you want it!
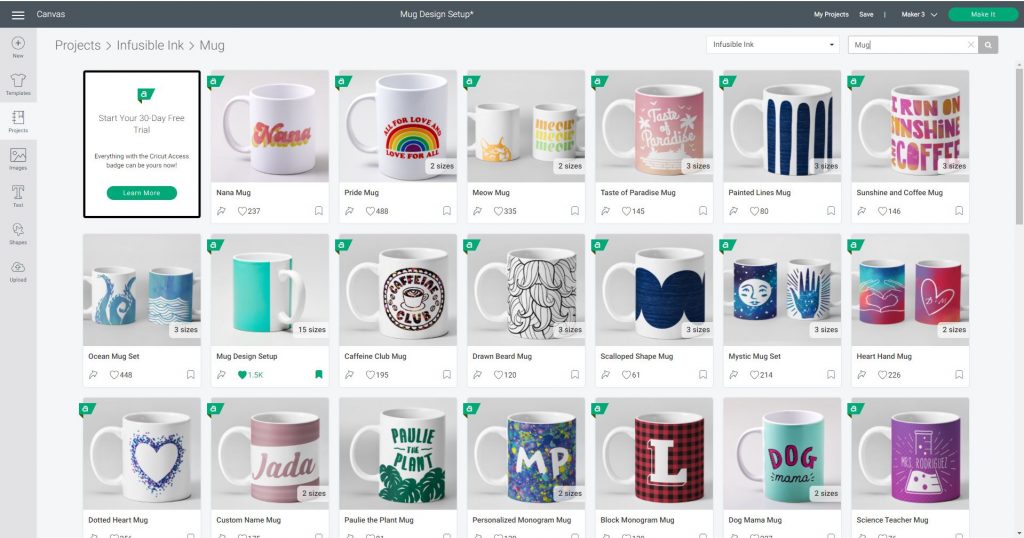
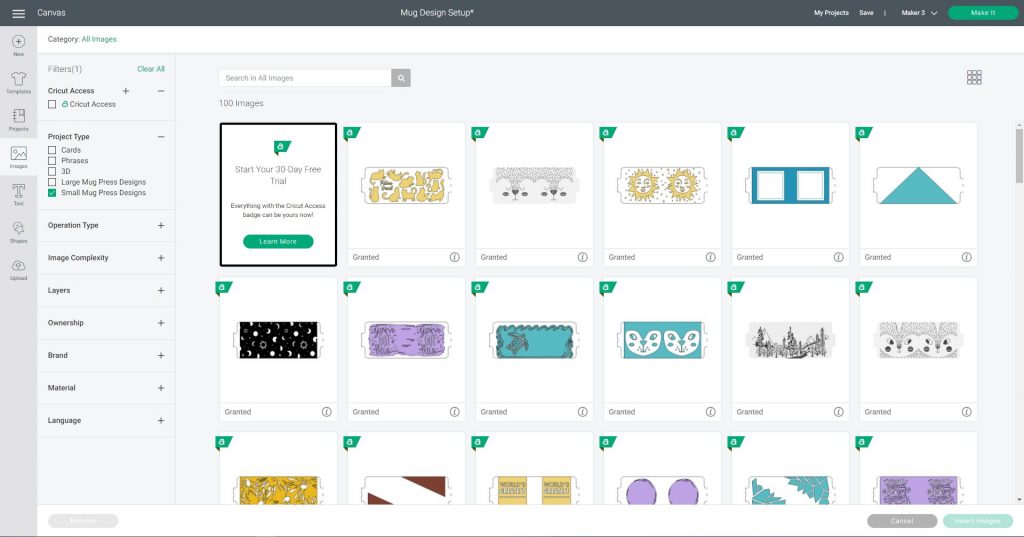
In images, you can also filter by Mug Press under ‘Project Type’ to see all the different designs that have been created so you can find the best design to suit you!
How to use the Mug Design Set Up project
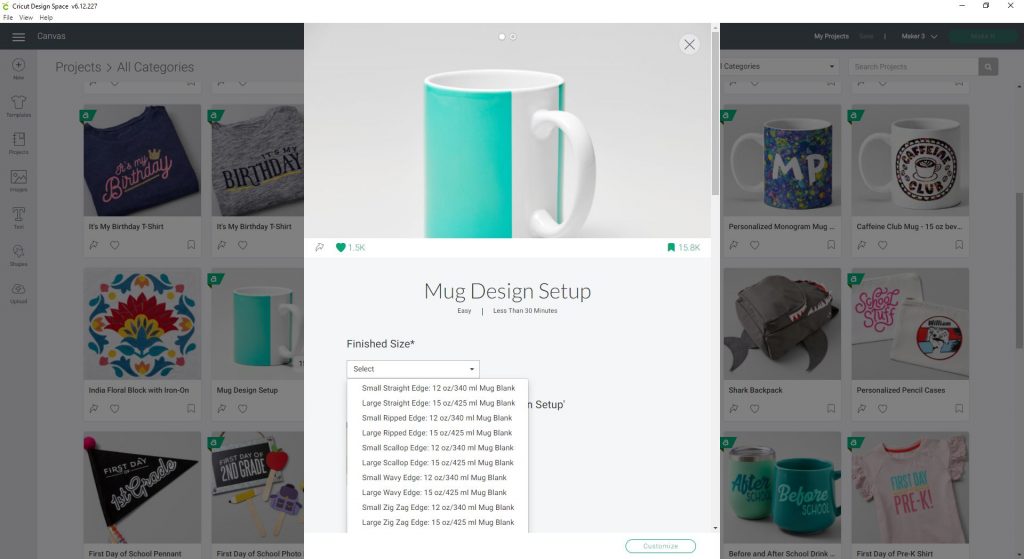
Head to the projects area in Cricut Design Space and filter by ‘Infusible Ink’. Find the Mug Design Setup project and select this. You will need to use the dropdown box below ‘Finished Size’ to select the size of your mug. If this is a Cricut Mug, this can be found on the packaging.
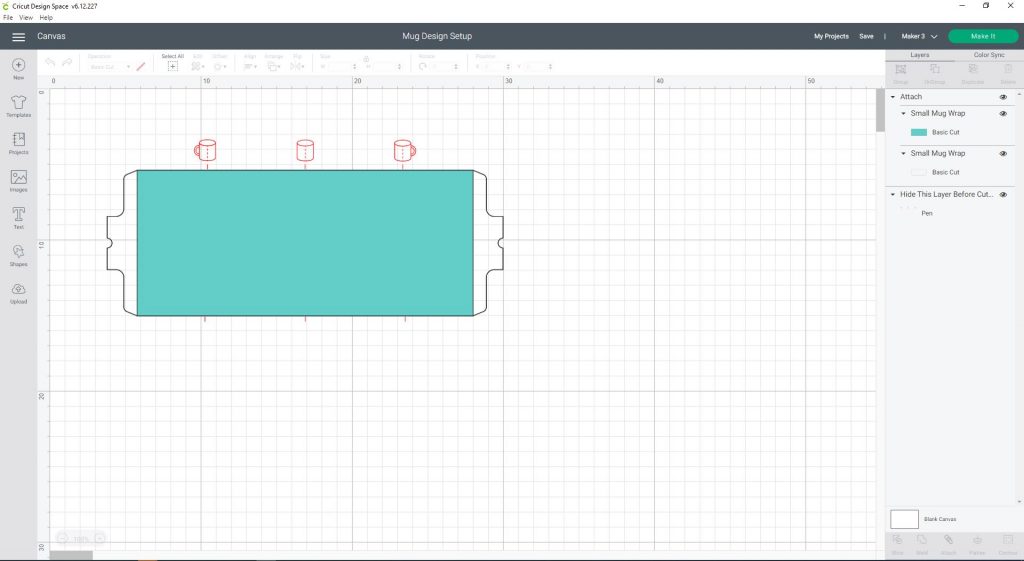
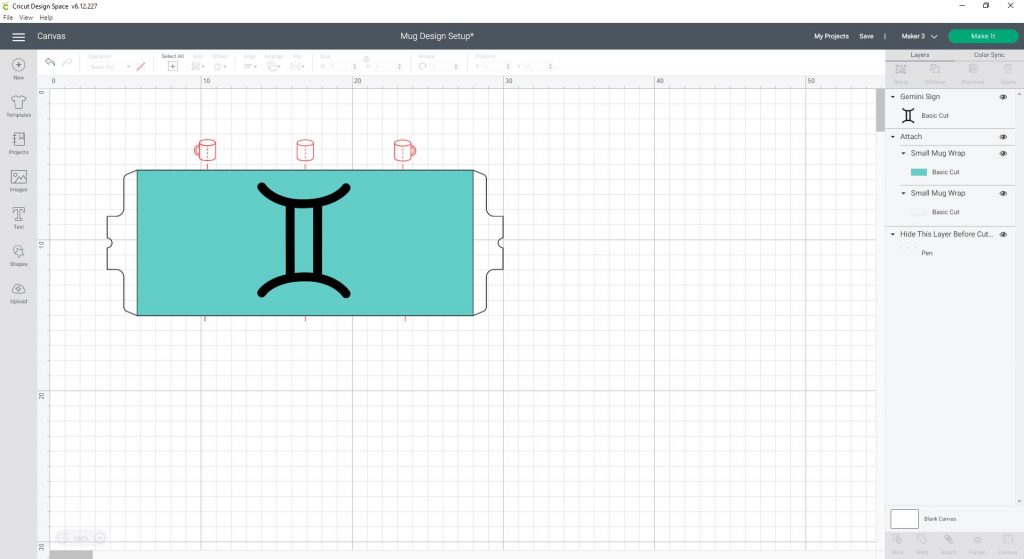
Select ‘customise’ and the mug template will load into your canvas area. You can see there are two cut lines, the outer black line will cut through both the Infusible Ink material and the backing so that you can easily use this as a guide to position your design when adhering to the mug.
The rectangle layer is the perfect size for a full-colour design around your mug, you will use this as a guide for positioning your images.
Finally, there are some handy red guides at the top of the template that show you where your image will be visible when placed onto the mug.
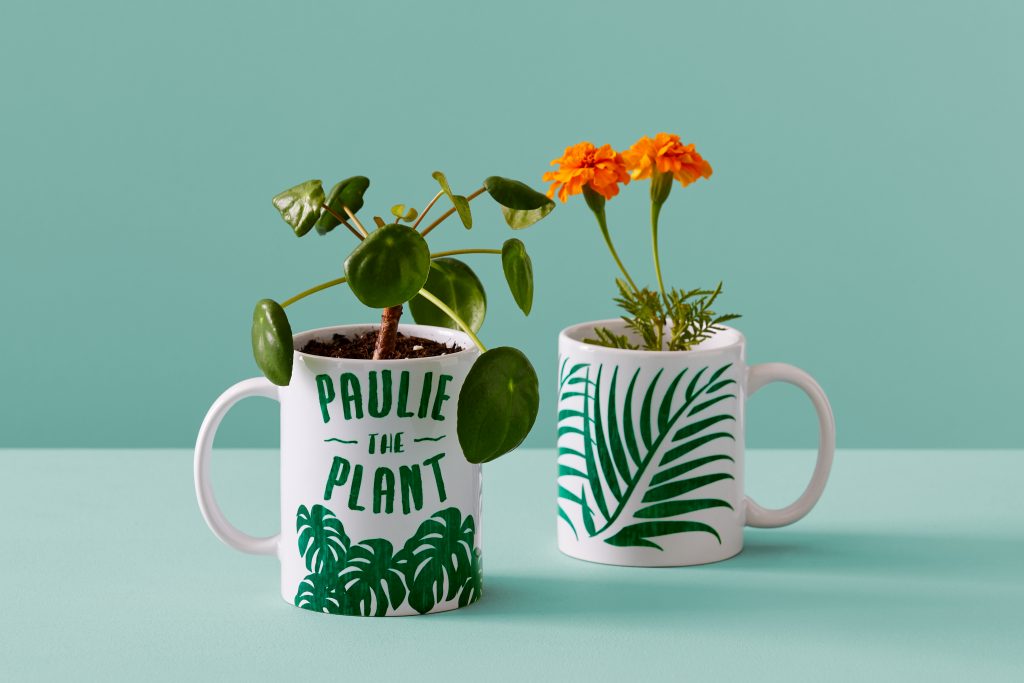
With this template, you can use lots of images in Design Space to create your personalised mug! Head to ‘Images’ and browse the hundreds of thousands of designs that are available. Select your images and enter them into the canvas.
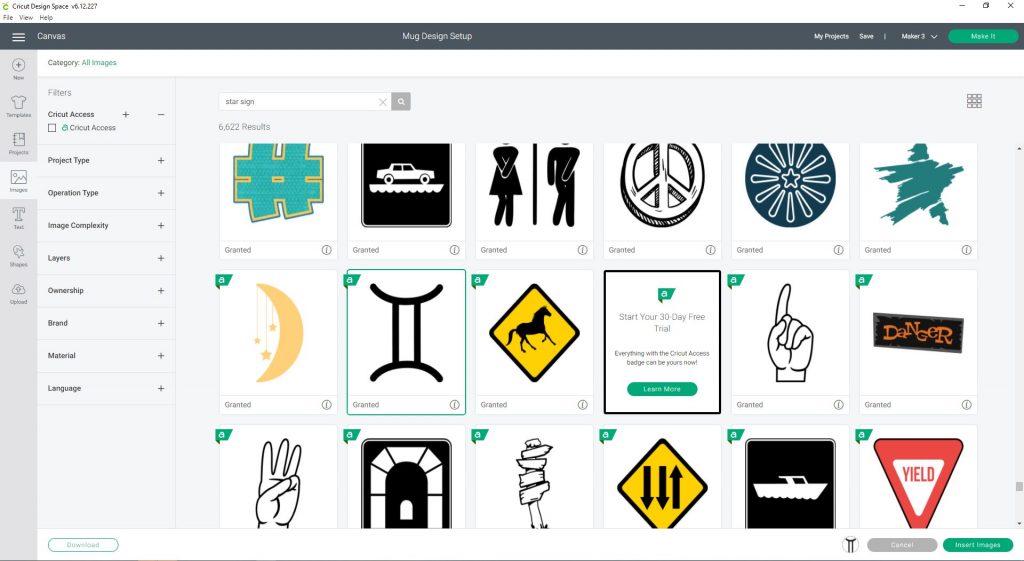
Position your images inside the template area. We have just used one image in this example but you could add multiple images plus text to cut out too, making it totally unique to you!
When you are happy with your mug design, select all the images and text you added, as well as the template design layers and use the ‘attach’ tool.
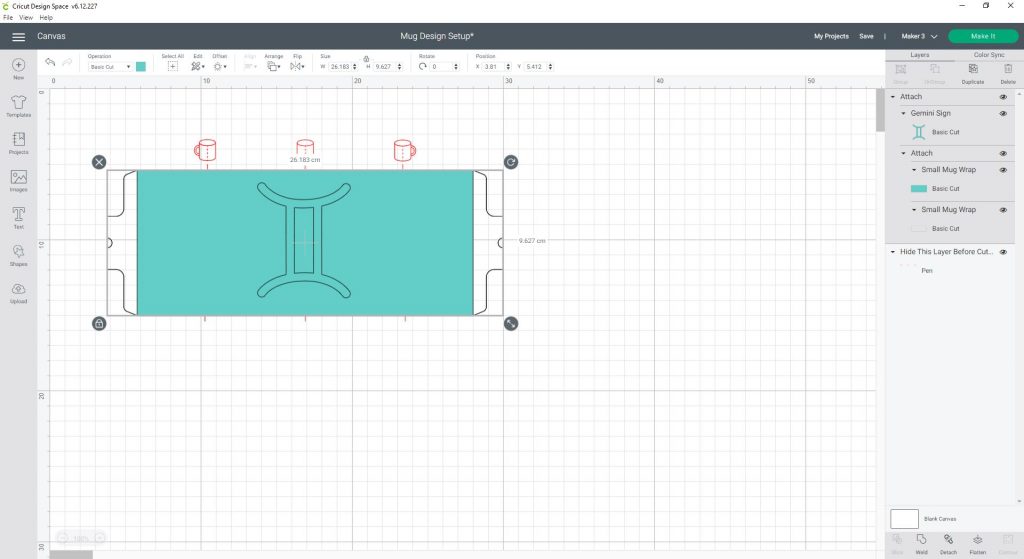
Remove the red mug guides layer and then you are ready to continue and make it! Follow the on-screen guidance and don’t forget to mirror your design before going to cut.
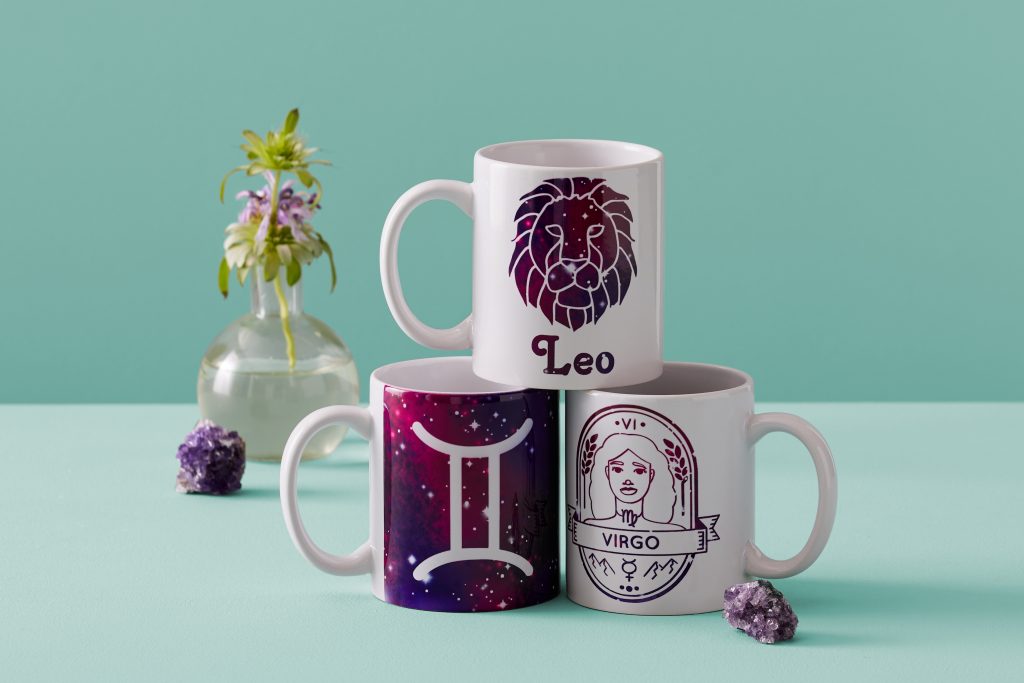
We would love to see your Cricut Mug Press makes! Make sure to use the hashtag #CricutUK and tag us into your posts and stories on Instagram so that we can admire and share your amazing projects.