December Quilt Block of the Month: Victorian England
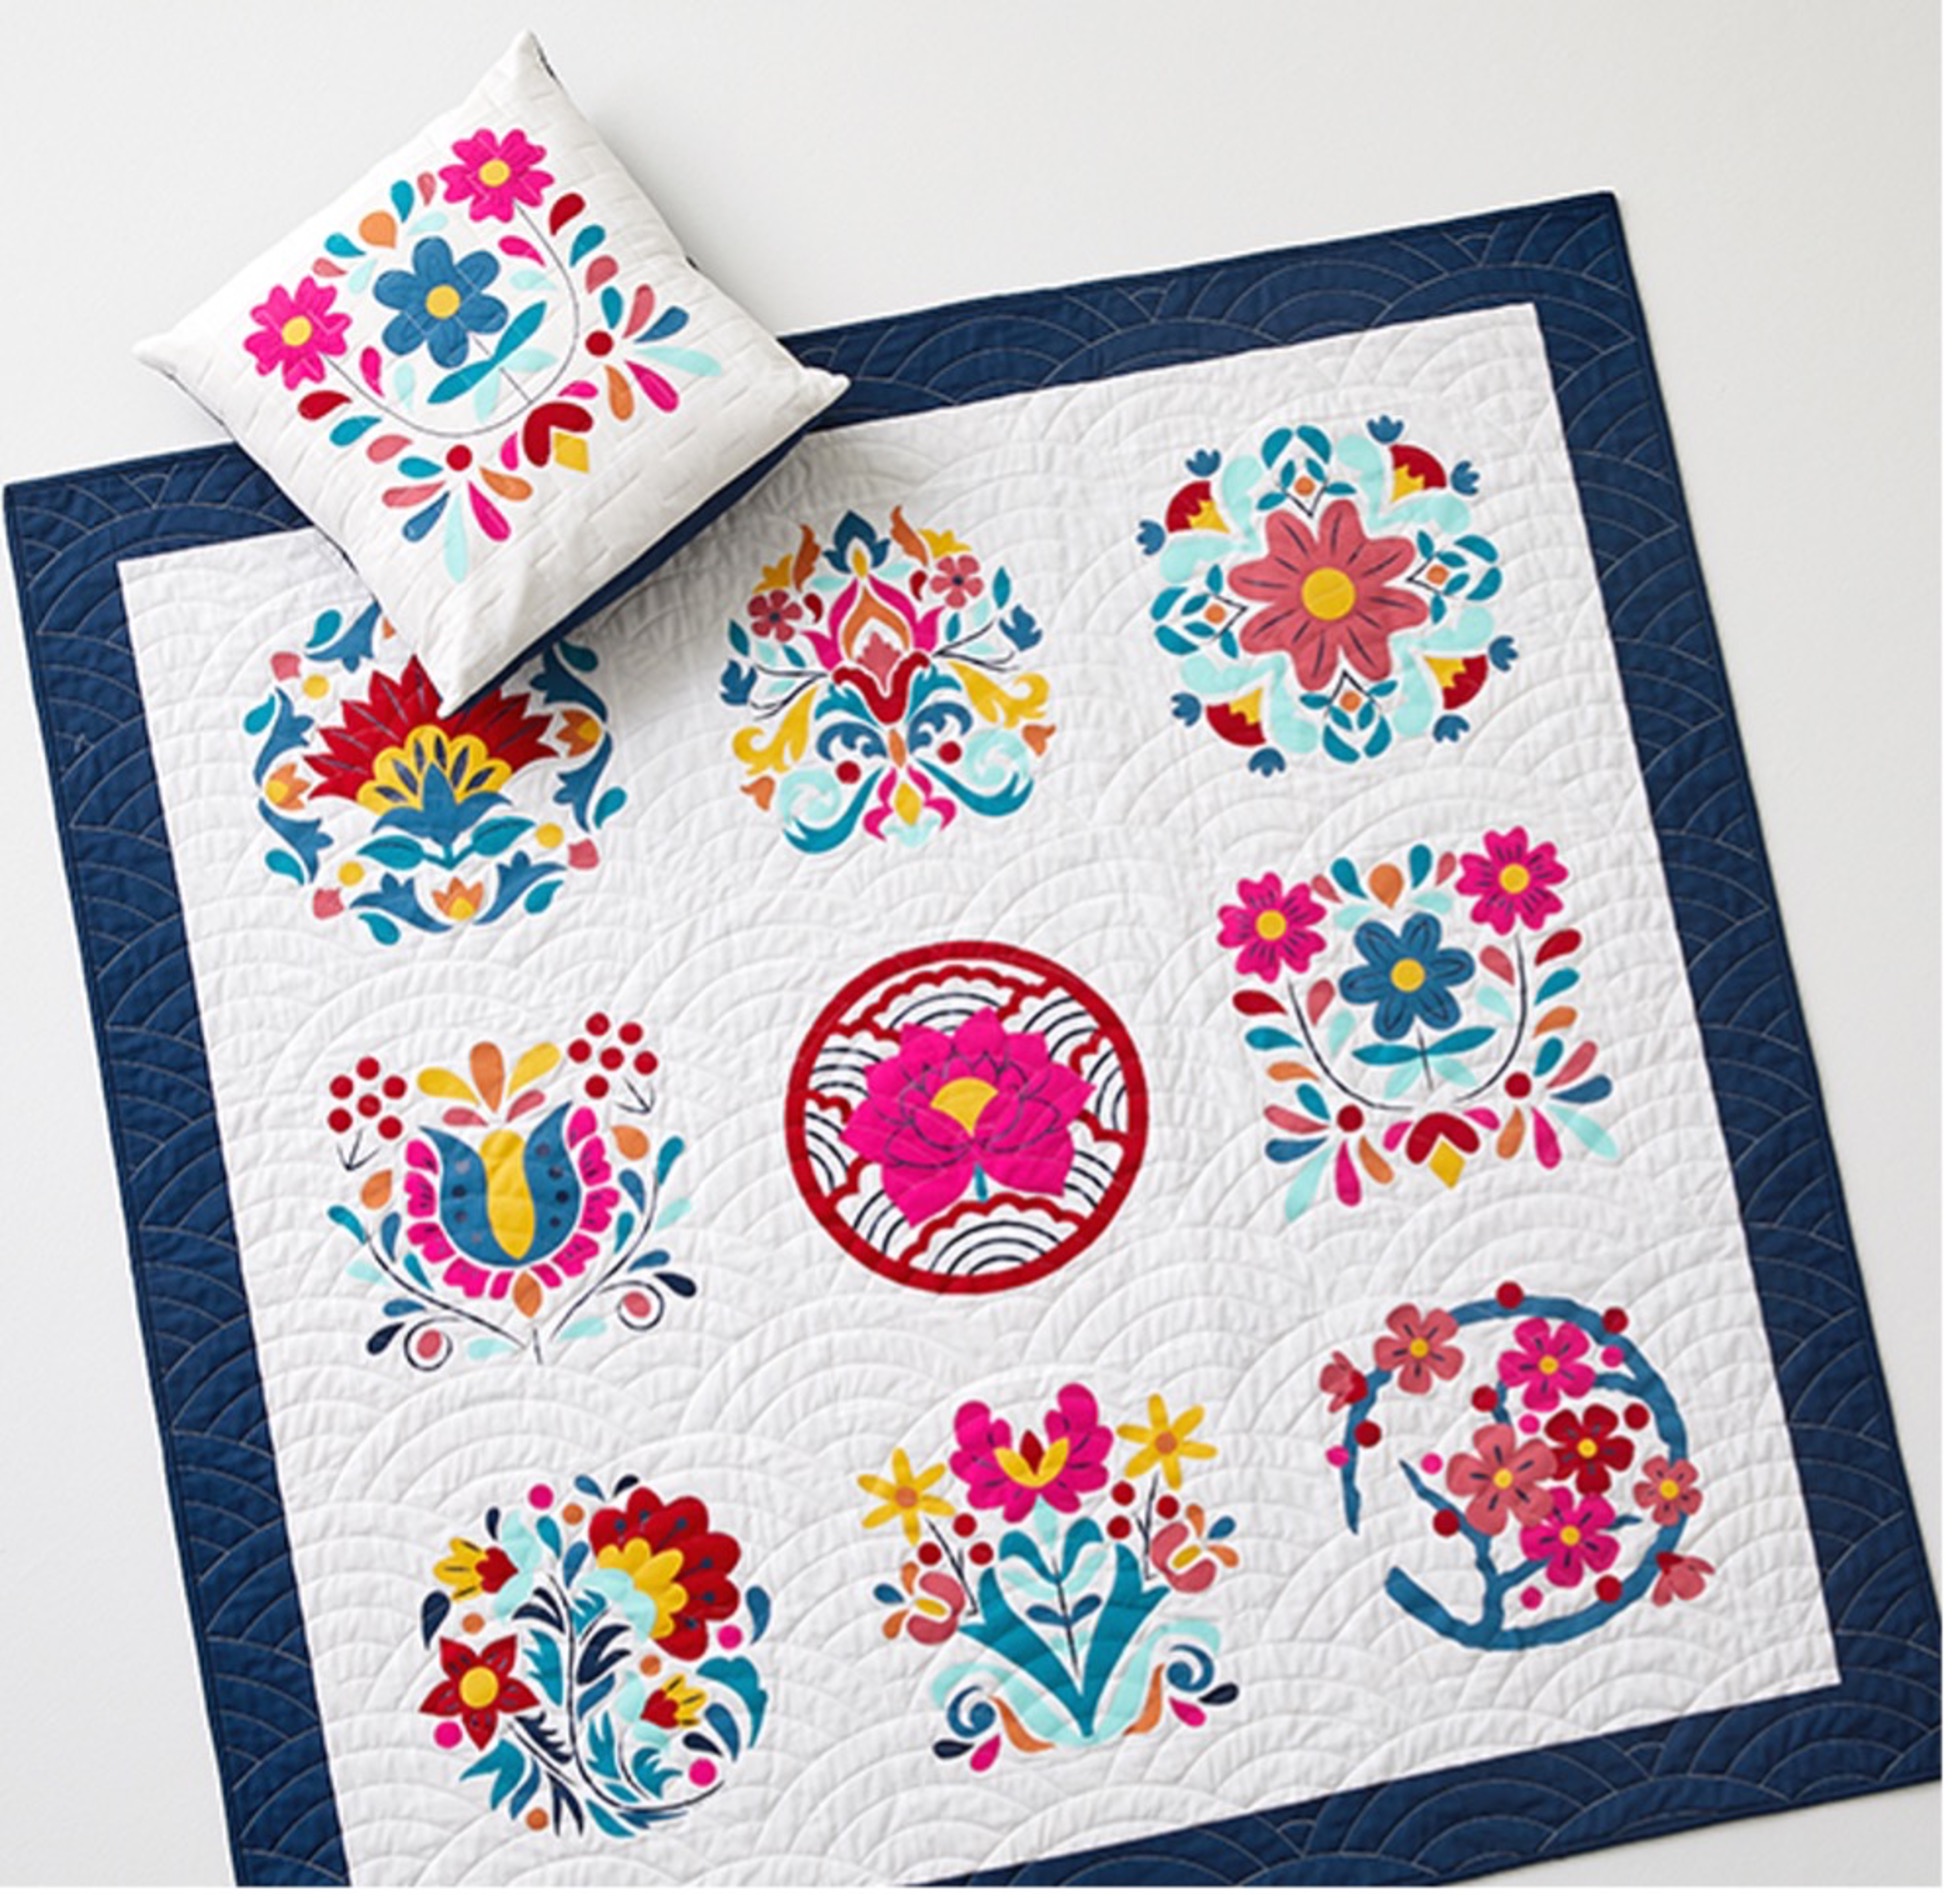
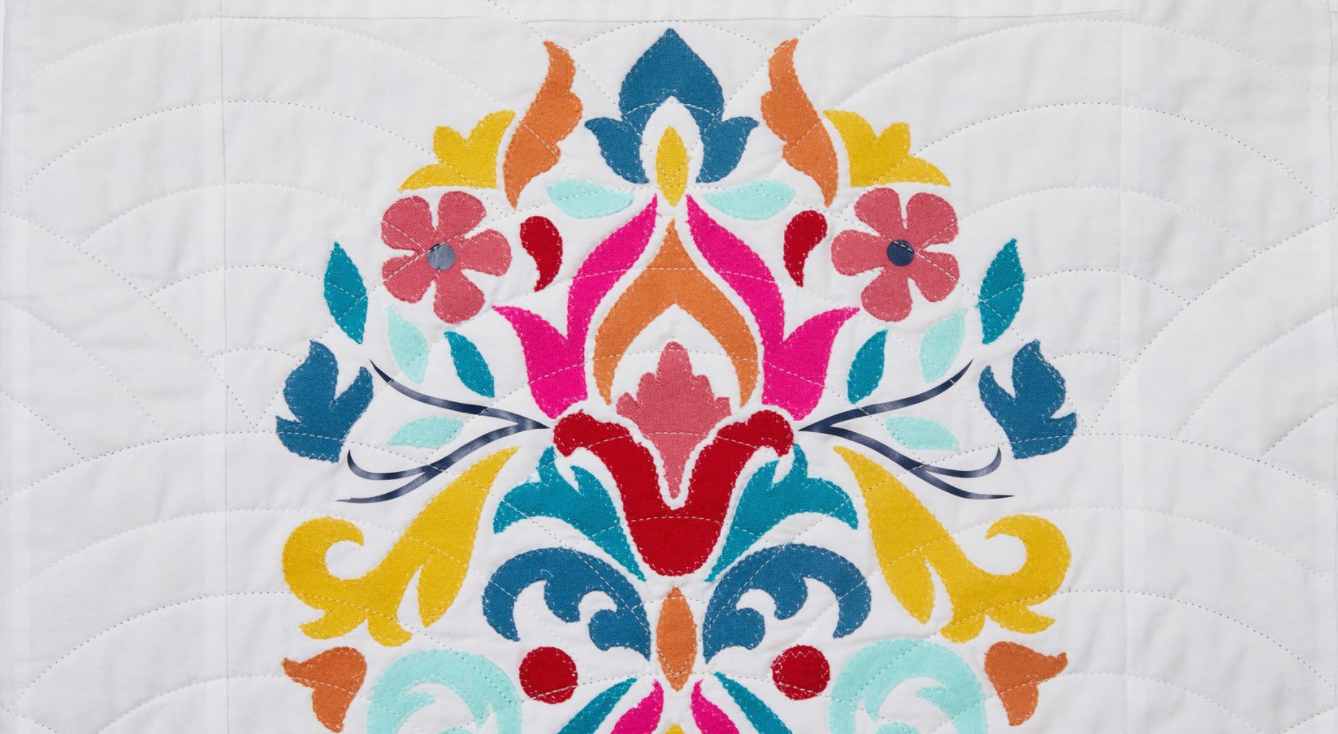
Make the Quilt Block of the Month with inspiration from Victorian England.
This December, we’re focusing on Victorian England to round out our Quilt Block of the Month projects. In the Victorian era, flowers were used to portray specific sentiments. A rose, for example, could mean love or contentment depending on the color used. By contrast, an oleander may depict warn people to beware.
For this quilt block, we’ve outlined fabric colors to consider using but given how much color can change the meaning for these flowers, definitely use what feels right to you.
Supplies needed
Print this list
Materials to cut
Print this list
December Quilt Block of the Month – Victorian England
Step
Apply applique material (such as HeatnBond Lite) to the wrong side of the all of the colors of fabric (except white) using applique product instructions. Remove the paper liner once the material has properly bonded and cooled before cutting.
Step
Mat 1 – Place the white fabric right side up onto the FabricGrip mat.Mats 2 – 6 – When cutting fabric with fusible adhesive, remove the paper backer before cutting, and place the fabric with the adhesive side up, and the unbacked side against the FabricGrip mat.Mat 7 – Place iron-on material, shiny side (clear liner) down, on the StandardGrip mat.TIP: Be sure to use the mirror setting with adhesive-backed fabric, as with iron-on material.Mats 8 – 10 – When cutting fabric with fusible adhesive, remove the paper backer before cutting, and place the fabric with the adhesive side up, and the unbacked side against the FabricGrip mat.
Step
Using the draw lines on the white block, place the fabric pieces in the corresponding places with the applique material side down. Refer to the project photo or canvas as needed. The step out photos are for a different block but the process is the same for all of the applique blocks in this series.
Step
Once all pieces are in place use the EasyPress Mini to press each cutout onto the white block individually. We started in the middle of the block and worked our way out, carefully centering the cutouts over the corresponding draw lines.
Step
Use a Weeder Tool to remove unneeded iron-on pieces, leaving design on clear liner. Apply the iron-on layers to the block to cover the draw lines using a Cricut EasyPress Mini and Cricut EasyPress Mat with our Heat Transfer Guide, linked below, for the perfect time and temp settings.
Once everything is in place briefly press the backside of the block to secure all of the pieces.
Use a zigzag or other decorative stitch along the edges of each cutout to secure the applique. We used monofilament thread.
Once all of the cutouts are secured your block is ready to be used as desired.
What are you making?
Want to use this block for something other than a quilt? Check out our ideas for a pillow sham, kitchen accessories, or even apparel.
Show us what you made! Share on social by tagging @cricut and #cricutmade.
Search How-To
I want to make...


