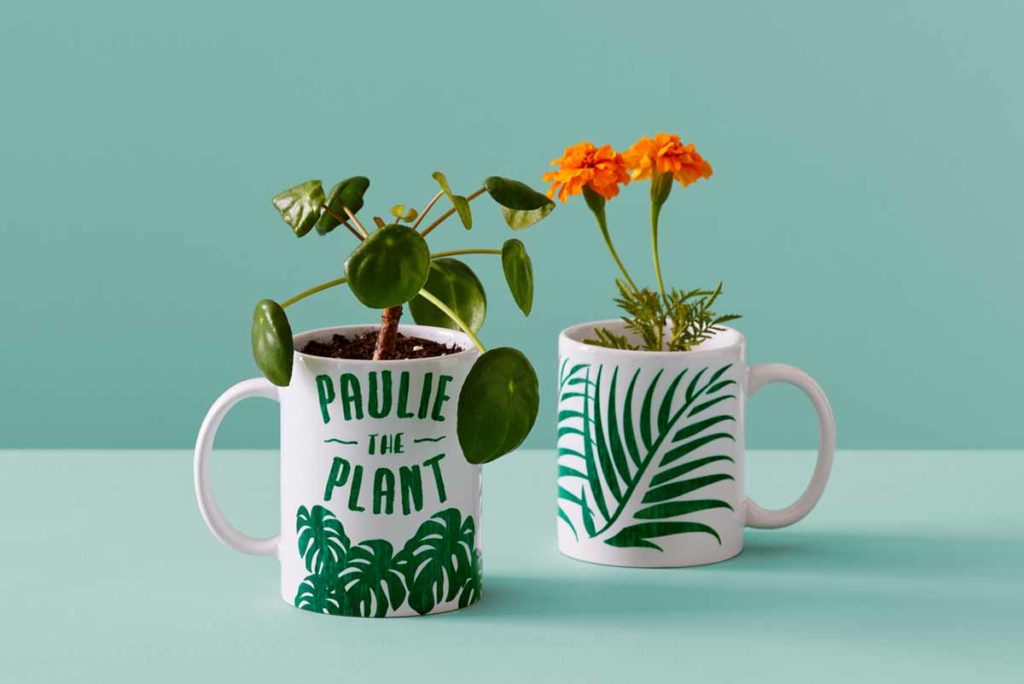
Making your own mug: how to set up a mug project in Design Space
So, you have your Cricut Mug Press, but you haven’t opened it yet – perfect!
The following resources will set you up for success right away. In this blog, you’ll learn how to:
- Activate your Cricut Mug Press
- Customize a ready-to-make mug project
- Make your own mug project using Infusible Ink transfer sheets
- How to make a mug project with Infusible Ink markers
Activate your Cricut Mug Press
Use a computer to activate your Cricut Mug Press. It only takes a couple of minutes and gets you the latest and greatest firmware.
Here’s how to activate your press, step by step.
- Unbox your Cricut Mug Press
- Connect the power cord to the back of your press and into a wall outlet
- Next, connect the USB cord to the back of your press and into your laptop or computer USB port
- From your computer/laptop, open Design Space
- From the top left nav, select New Machine Setup > Heat Press > Cricut Mug Press
- Follow on-screen prompts
Customize a ready-to-make mug project

This ready-to-make project is a perfect test drive for your Cricut Mug Press. Visit the fundamentals page for step-by-step instructions and videos, or read on.
- From Design Space, open the Personalized Monogram Mug project
- Use the drop-down to select mug size
- Select Customize
- Double-click text box
- Enter initials or even a short word
- Select all
- From the lower right corner, select Attach
- Select Make It
- Toggle Mirror switch on – always use Mirror for heat-transfer projects
- Select Continue to cut your design
- For pressing instructions, see Cricut Heat Guide
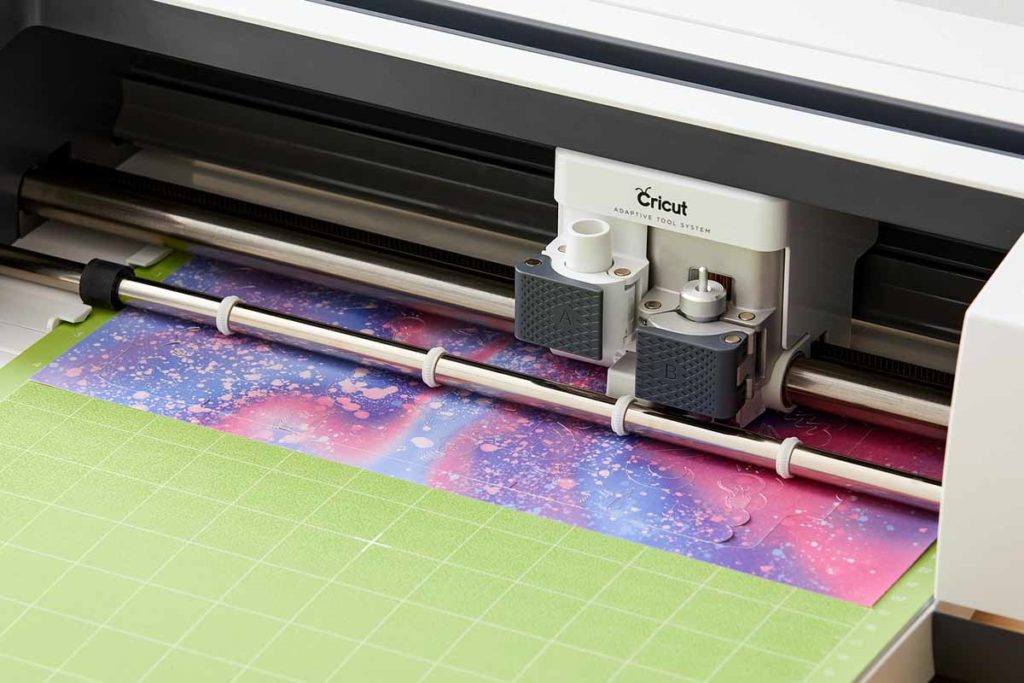
Apply Infusible Ink Transfer Sheet to your LightGrip or StandardGrip machine mat ink-side up before cutting. Before adhering it to your mug, clean mug surface with an alcohol wipe and lint roller. No need to use butcher paper with Infusible Ink Transfer Sheet mug projects.
Make your own mug project using Infusible Ink Transfer Sheets
In Design Space, there is a free Mug Design Setup project, which makes it easy to complete Infusible Ink transfer sheet projects. Your resulting cut will be a perfectly sized, easy-to-weed design with convenient sticky tabs that secure your design to your mug for the transfer.
Let’s get started
- From Design Space, open the Mug Design Setup project
- Use the drop-down to select mug size and desired edge effect
- Select Customize
- Use the red mug guides to align your image on the canvas.
- IMPORTANT: Any design elements outside of the blue box will not transfer to your mug.
- When your design is complete, click the eyeball icon to hide red mug guide layer
- Select all
- From the lower right corner, select Attach
- Select Make It
- Toggle Mirror switch on – always use Mirror for heat-transfer projects
- Select Continue to cut your design
- For pressing instructions, see Cricut Heat Guide
The beauty of using Mug Design Setup project is it double cuts the outer layer. Your design is a kiss-cut, only cutting through the ink layer of the transfer sheet, the outer layer cuts all the way through the liner. Before adhering it to your mug, clean mug surface with an alcohol wipe and lint roller. No need to use butcher paper with Infusible Ink Transfer Sheet mug projects.
How to make a mug project with Infusible Ink Markers
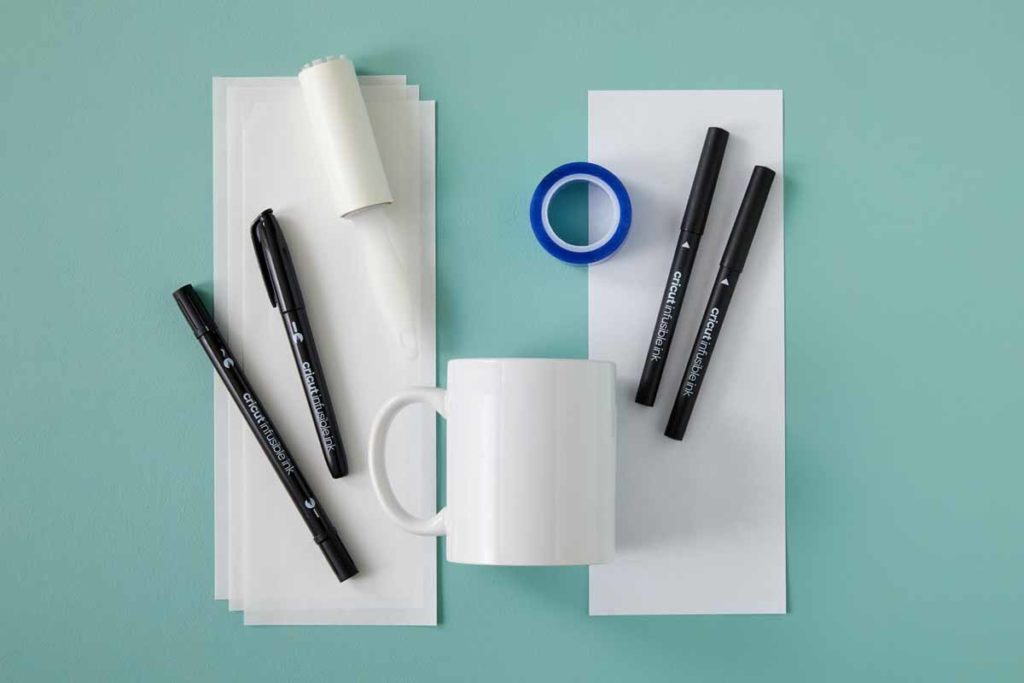
In Design Space, there is a free Drawn Mug Design Setup project, which makes it easy to complete drawn mug projects. Your resulting cut will be a perfectly sized design for the transfer.
Let’s get started
- From Design Space, open the Drawn Mug Design Setup project
- Use the drop-down to select mug size
- Select Customize
- Use the red mug guides to align your image on the canvas.
- IMPORTANT: Any design elements outside of the red dotted lines will not transfer to your mug.
- When your design is complete, click the eyeball icon to hide red mug guide layer
- Select all
- From the lower right corner, select Attach
- Select Make It
- Toggle Mirror switch on – always use Mirror for heat-transfer projects
- Select Continue to cut your design
- For pressing instructions, see Cricut Heat Guide
GIF – How to make a drawn mug
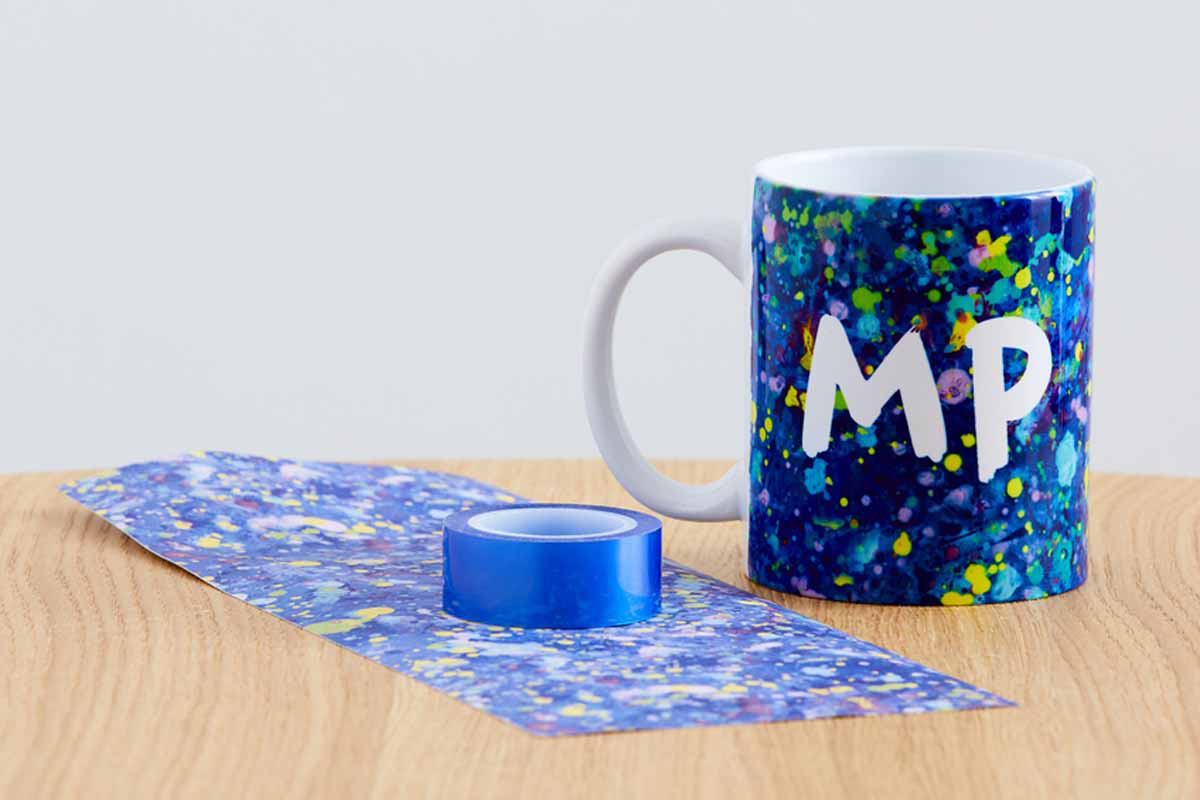
If you want to draw a design by hand, use Infusible Ink markers directly onto laser copy paper, wrap around your mug, and secure with heat-resistant tape. Before adhering it to your mug, clean mug surface with an alcohol wipe and lint roller. Be sure to add 3 layers of butcher paper around the mug before you press to protect your heat plate from extraneous ink.
For more Cricut Mug Press tips, visit our YouTube channel.
Related Making


Search How-To
I want to make...