Natasha is a big fan of monogrammed items, and next on her list is a monogram mug! You can find this exact project in Design Space. So follow along below to see how she makes it!
Supplies needed
Print this list
How to make a customized monogram mug
Step 1
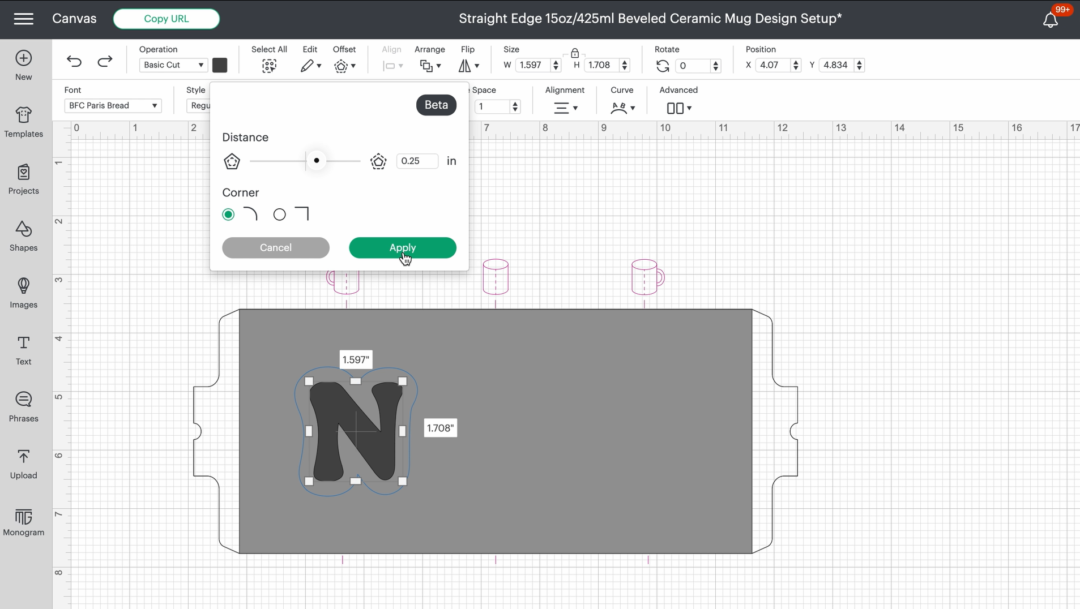
Head into Design Space and pick the font you want to use. Then to add a little extra design, Natasha decided to add a quarter-inch offset. Natasha also wanted the design on both sides, so she copy and pasted the letter and offset to put it on the other side. You’ll want to select the offset on one of the letters and then click slice. Do the same thing with the other letter. Once everything is sliced, you can select the offset layer for both letters and delete them. Hide the template layer and then select all of the layers and attach them. This makes sure they are cut out at the same time.
Step 2
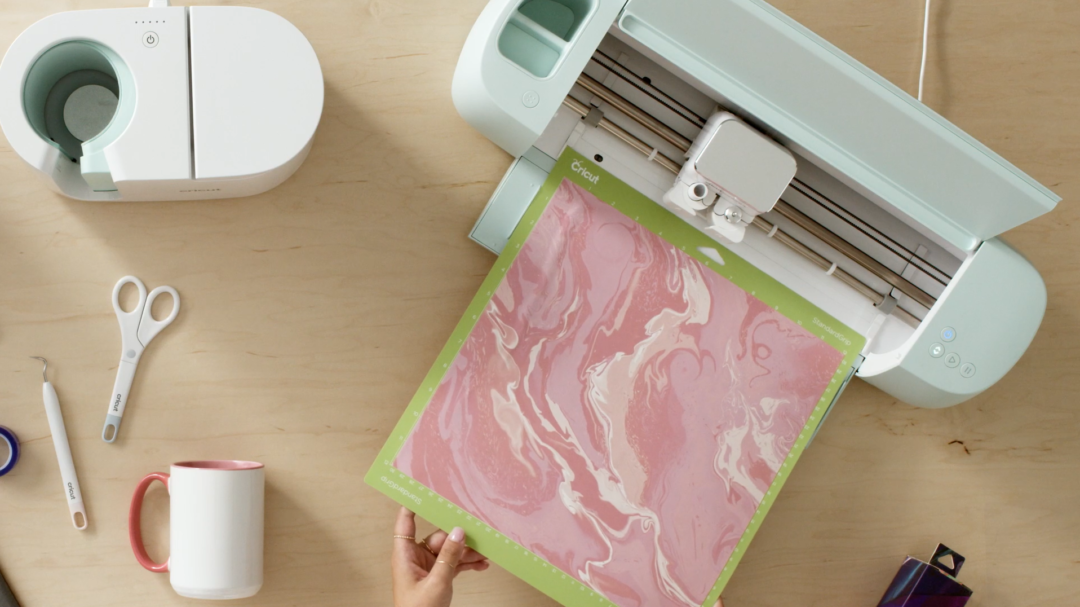
Next, click “make it” and toggle the Mirror button. Since Natasha is using Infusible Ink, this makes sure that her letter will be the correct way on her mug. Then choose the material you are using. Natasha selected Infusible Ink since that is the material she is using. If you’re using infusible ink, make sure that you place it on the mat with the color side up. Then load the mat into your machine and press the go button. While the machine cuts, Natasha will start preheating Cricut Mug Press so it is ready to go.
Step 3
Once the machine is done cutting, unload the mat and take the material off. Then weed out the parts of the design you don’t want, by peeling the material from the backing. Next, prep your mug by taking a lint roller and running it around your mug. This helps get all the dust off so that your design sticks and infuses onto the mug better.

Step 4
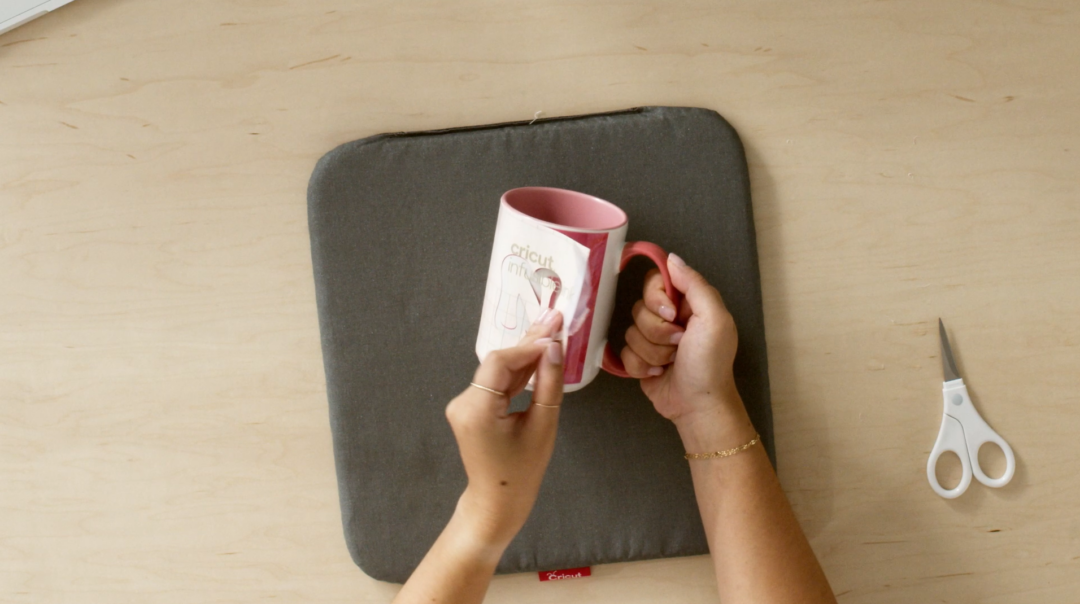
Now it’s time to apply the design to the mug. Line up the middle of the design on the mug, and then wrap the design around the mug, making sure that the colorful side is facing the mug. If there are any gaps, use some heat-resistant tape to close those gaps.

Step 5
Once the power button turns green, it is ready to go. Place the mug inside Cricut Mug Press by placing it at a bit of an angle, and then press down on the Mug Press lever. Once the five lights by the power button are on, the mug is done. Then remove the mug from the Mug Press and set it down on the heat press mat and wait for it to cool.

Step 6
Once the mug has cooled down, remove the Infusible Ink sheet from the mug.
Now sit back and enjoy your new monogram mug!
Not only was this project fun to make, but you’ll be able to enjoy it every time you use your mug! Make sure you share your creations with us on social media by using #cricut!