How to make custom baby milestone plaques with Cricut
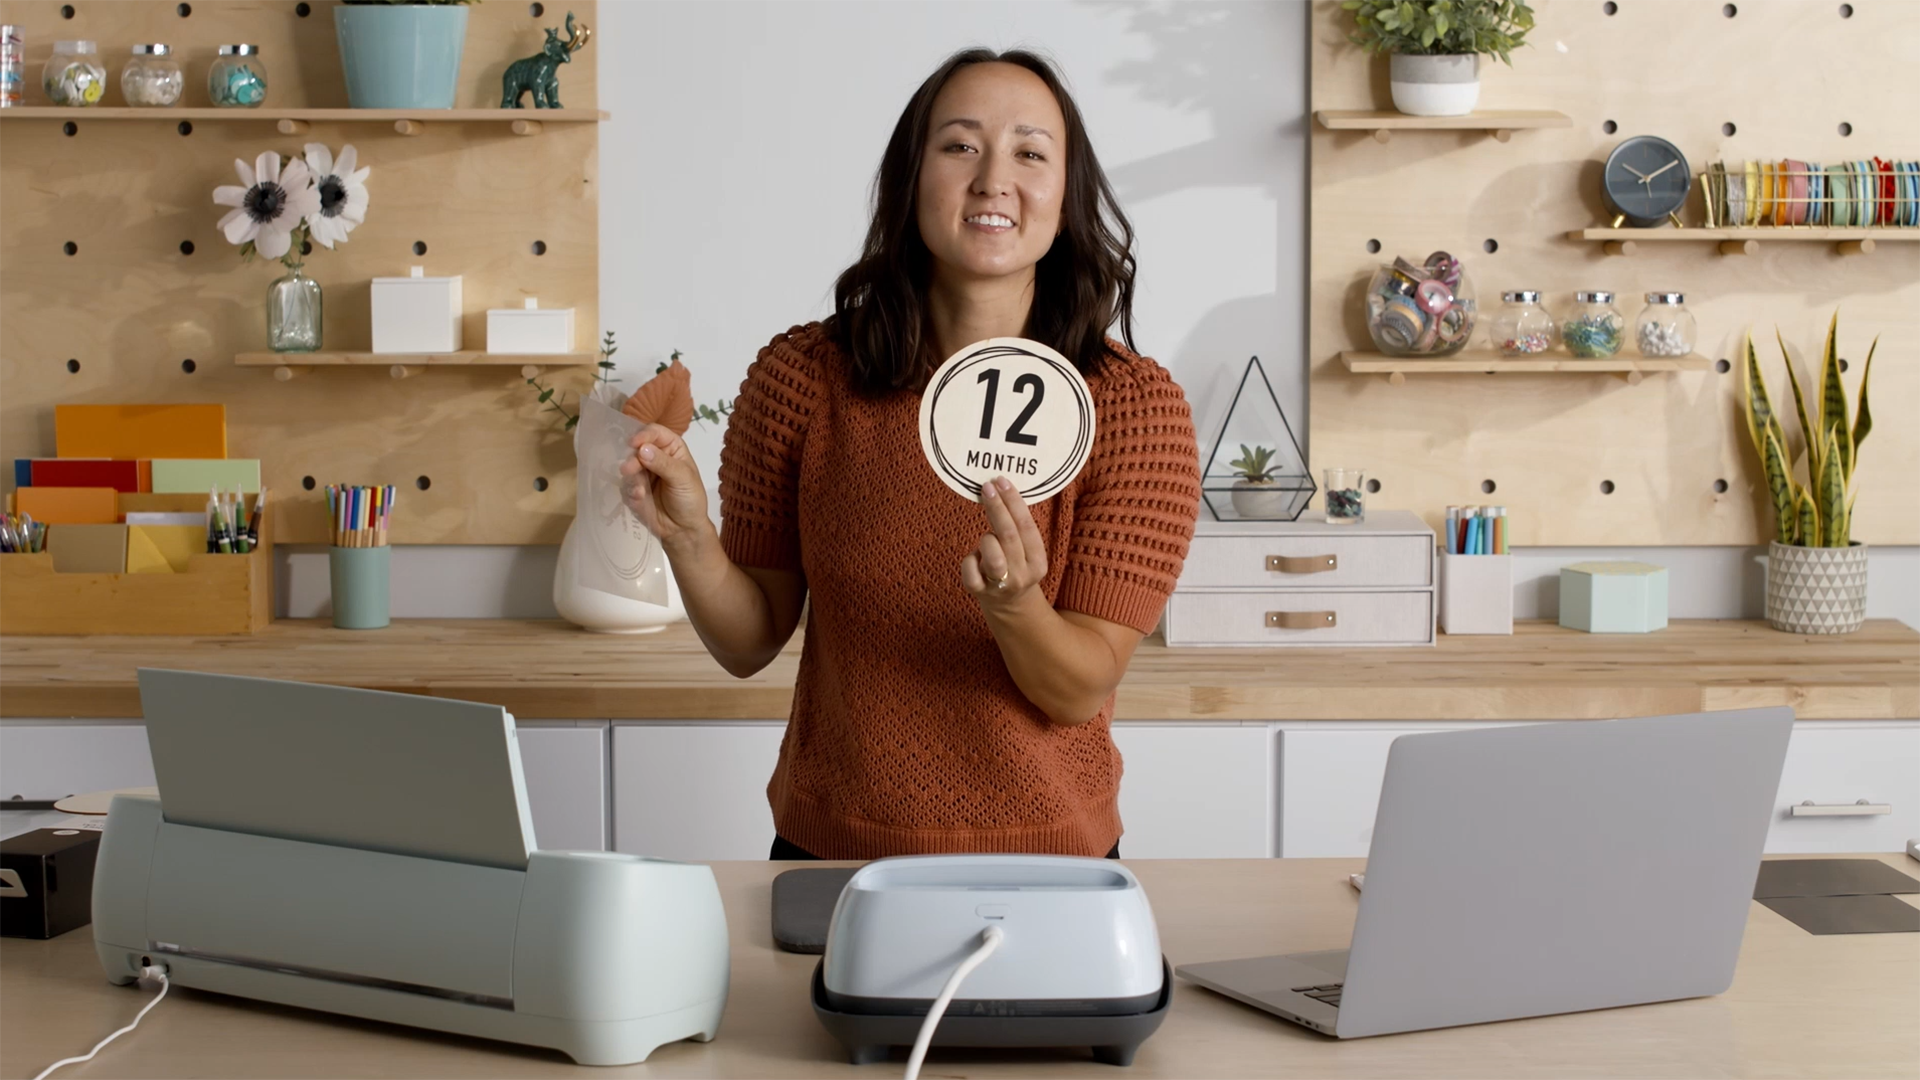
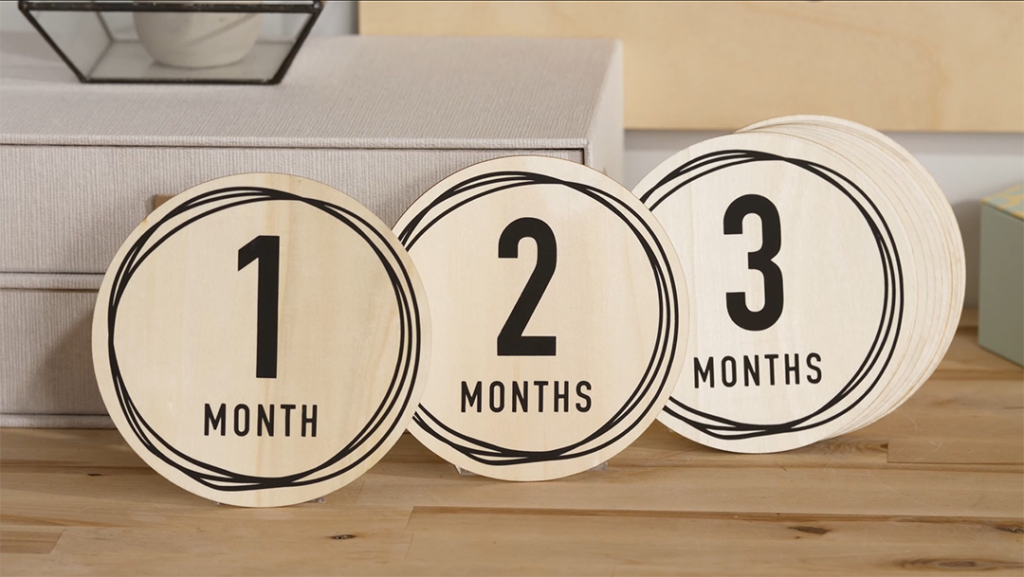
Jill is supporting her family by making some baby milestone plaques to give to her brother and sister-in-law who recently had a baby. Follow along to see how she makes them! You can make this exact project by going to Design Space here.
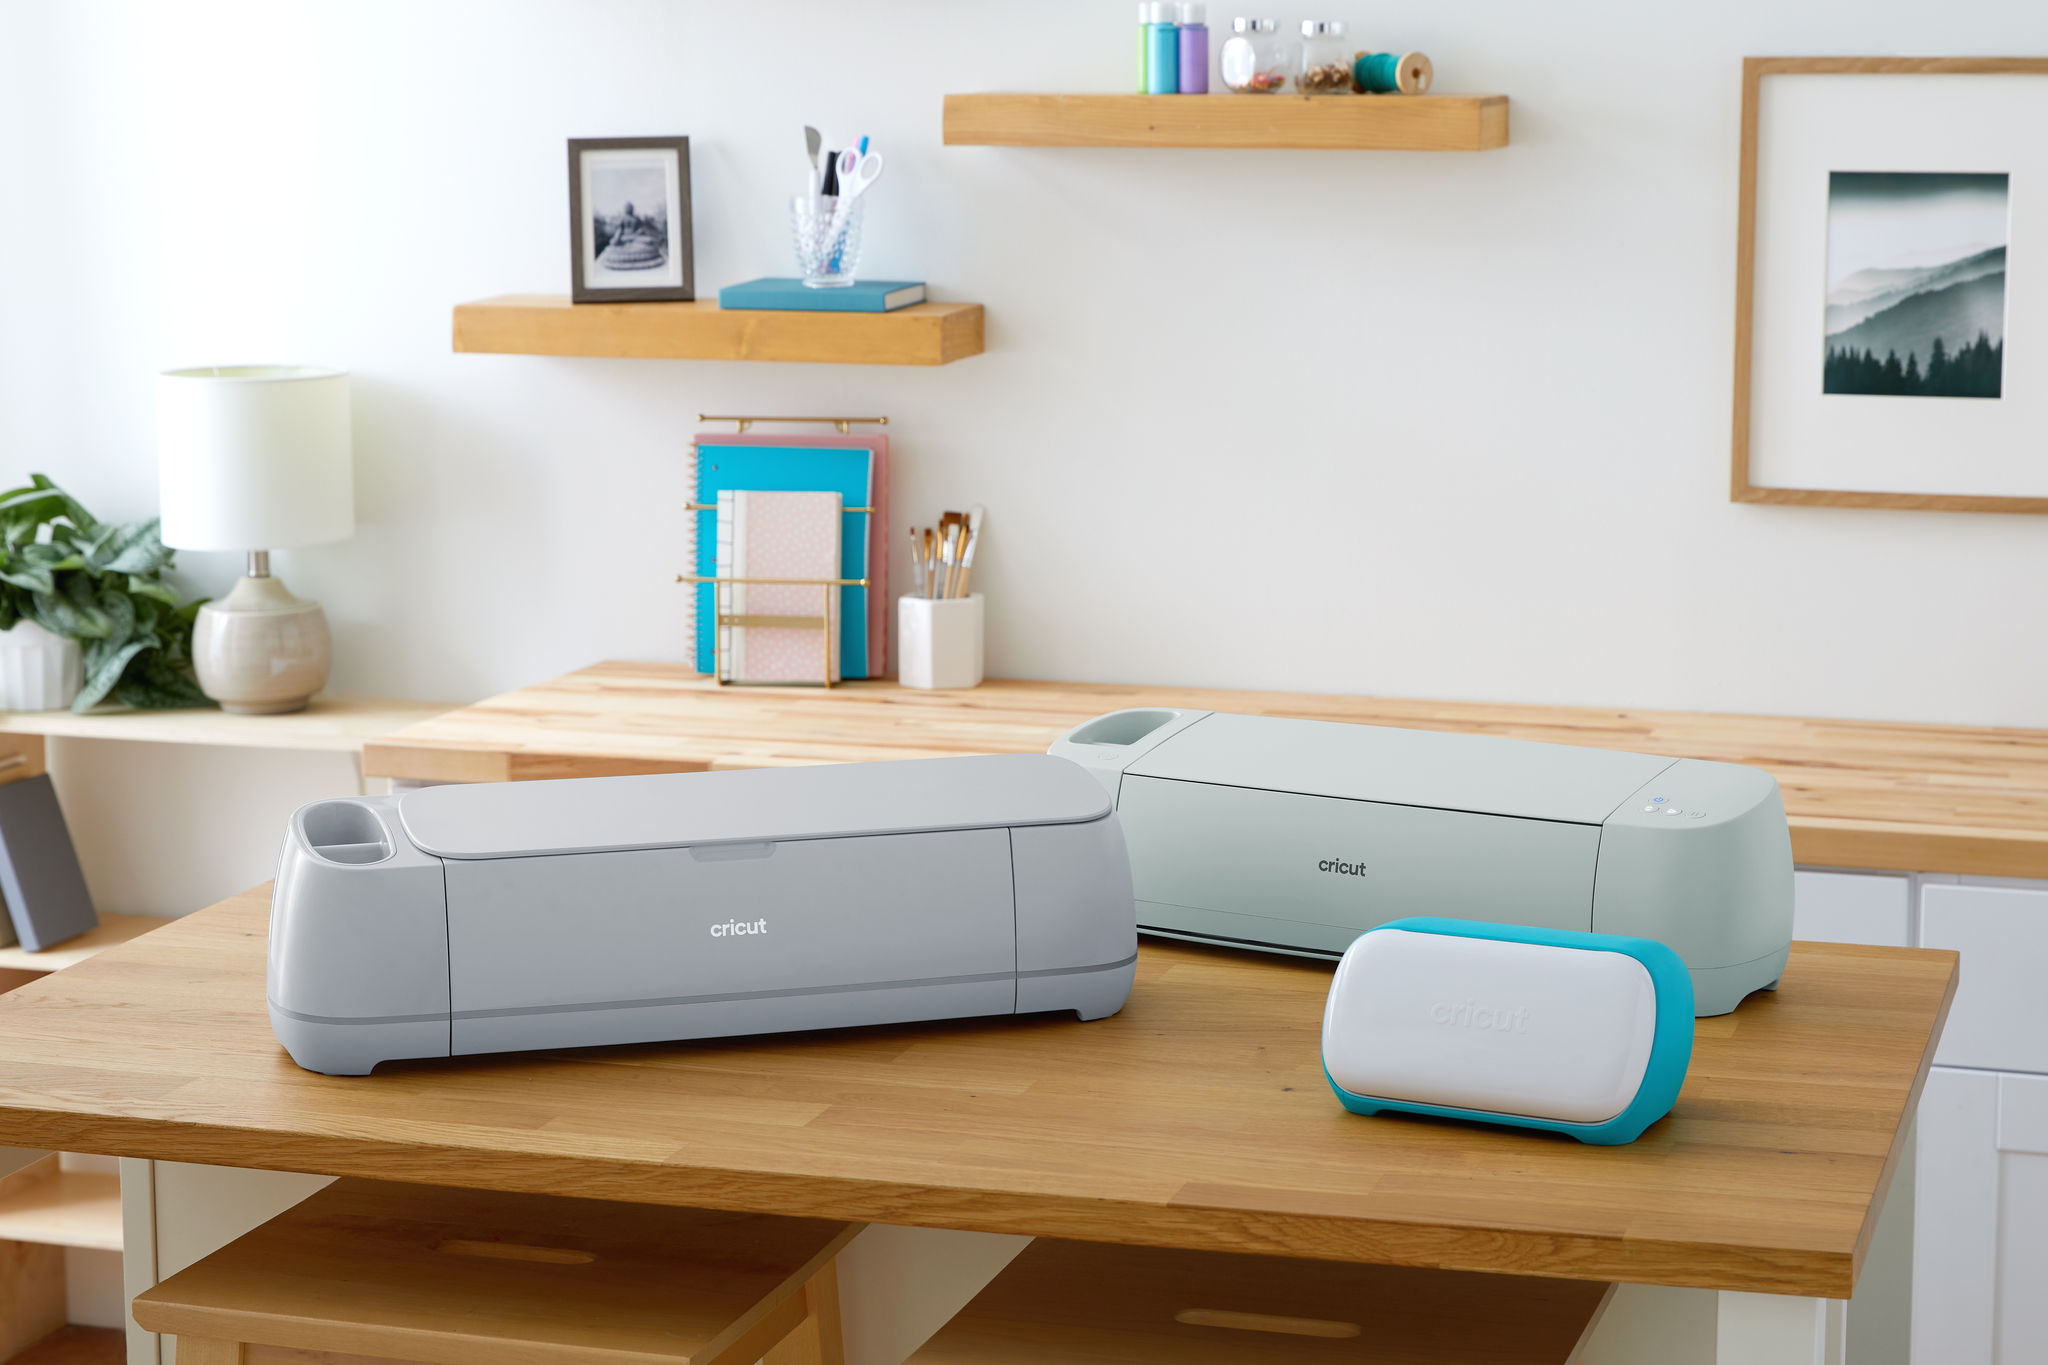
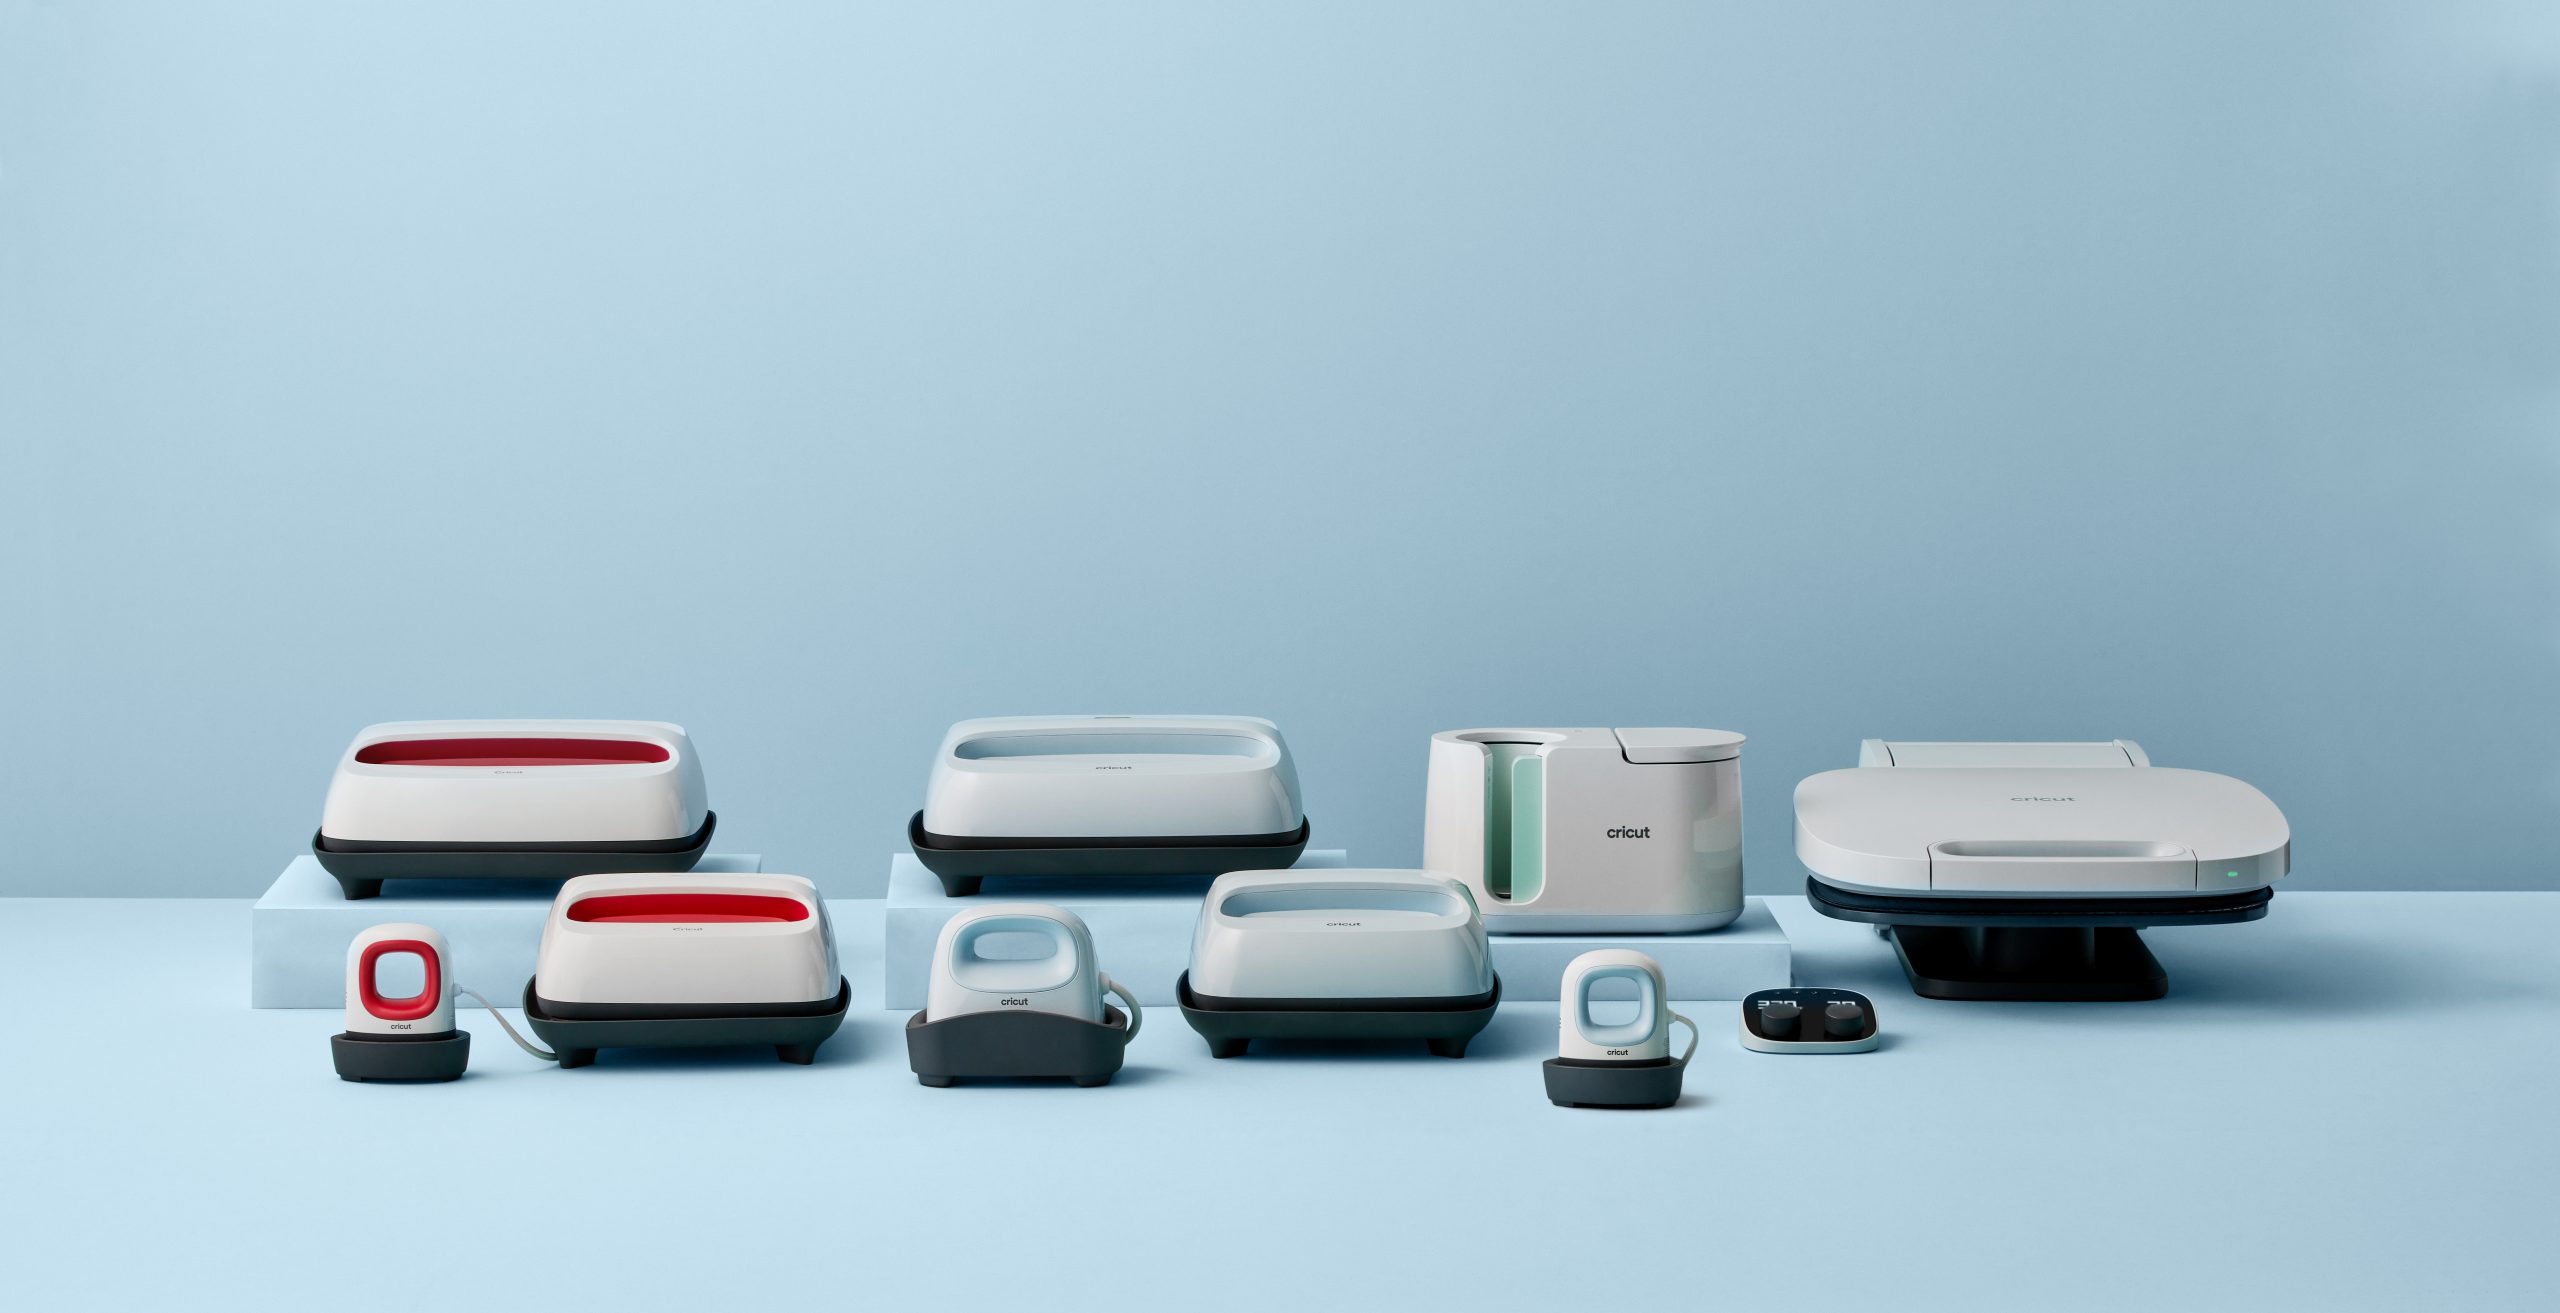
Supplies needed
Print this list
How to make baby milestone plaques
Step 1
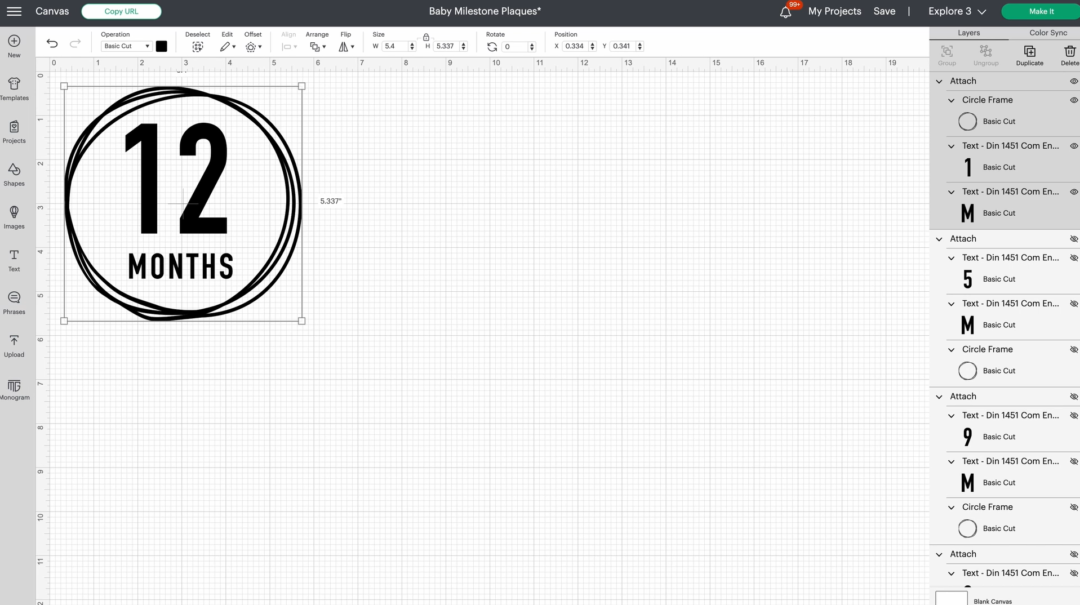
Head into Design Space and start customizing the design for how you want it to look. Jill changed her design from blue to black. To make sure everything stays in one place when the machine is cutting, attach the design together. You can do this by selecting the circle, number, and word, and clicking on attach in the bottom right corner. Then click make it in the top right corner.
Step 2
On the next screen, you will choose on a mat or without a mat. Jill is using Smart Iron-on, so she doesn’t have to use a mat. Jill also made sure to toggle the mirror button, since she is using Iron-on. This makes sure that her words don’t end up backwards. Once the mirror button is on, click continue.

Step 3
On the next screen, select the material you are using and load it into the machine. With Iron-on, you want to load the material shiny side down. This makes sure that your machine is cutting the material and not the backing. Then click the go button to have your machine start cutting.

Step 4
Once the machine is done cutting, hit the unload button. Then go ahead and trim your excess material, so you can save the scraps for later projects. Then weed away the parts of the design you don’t want in your project.

Step 5
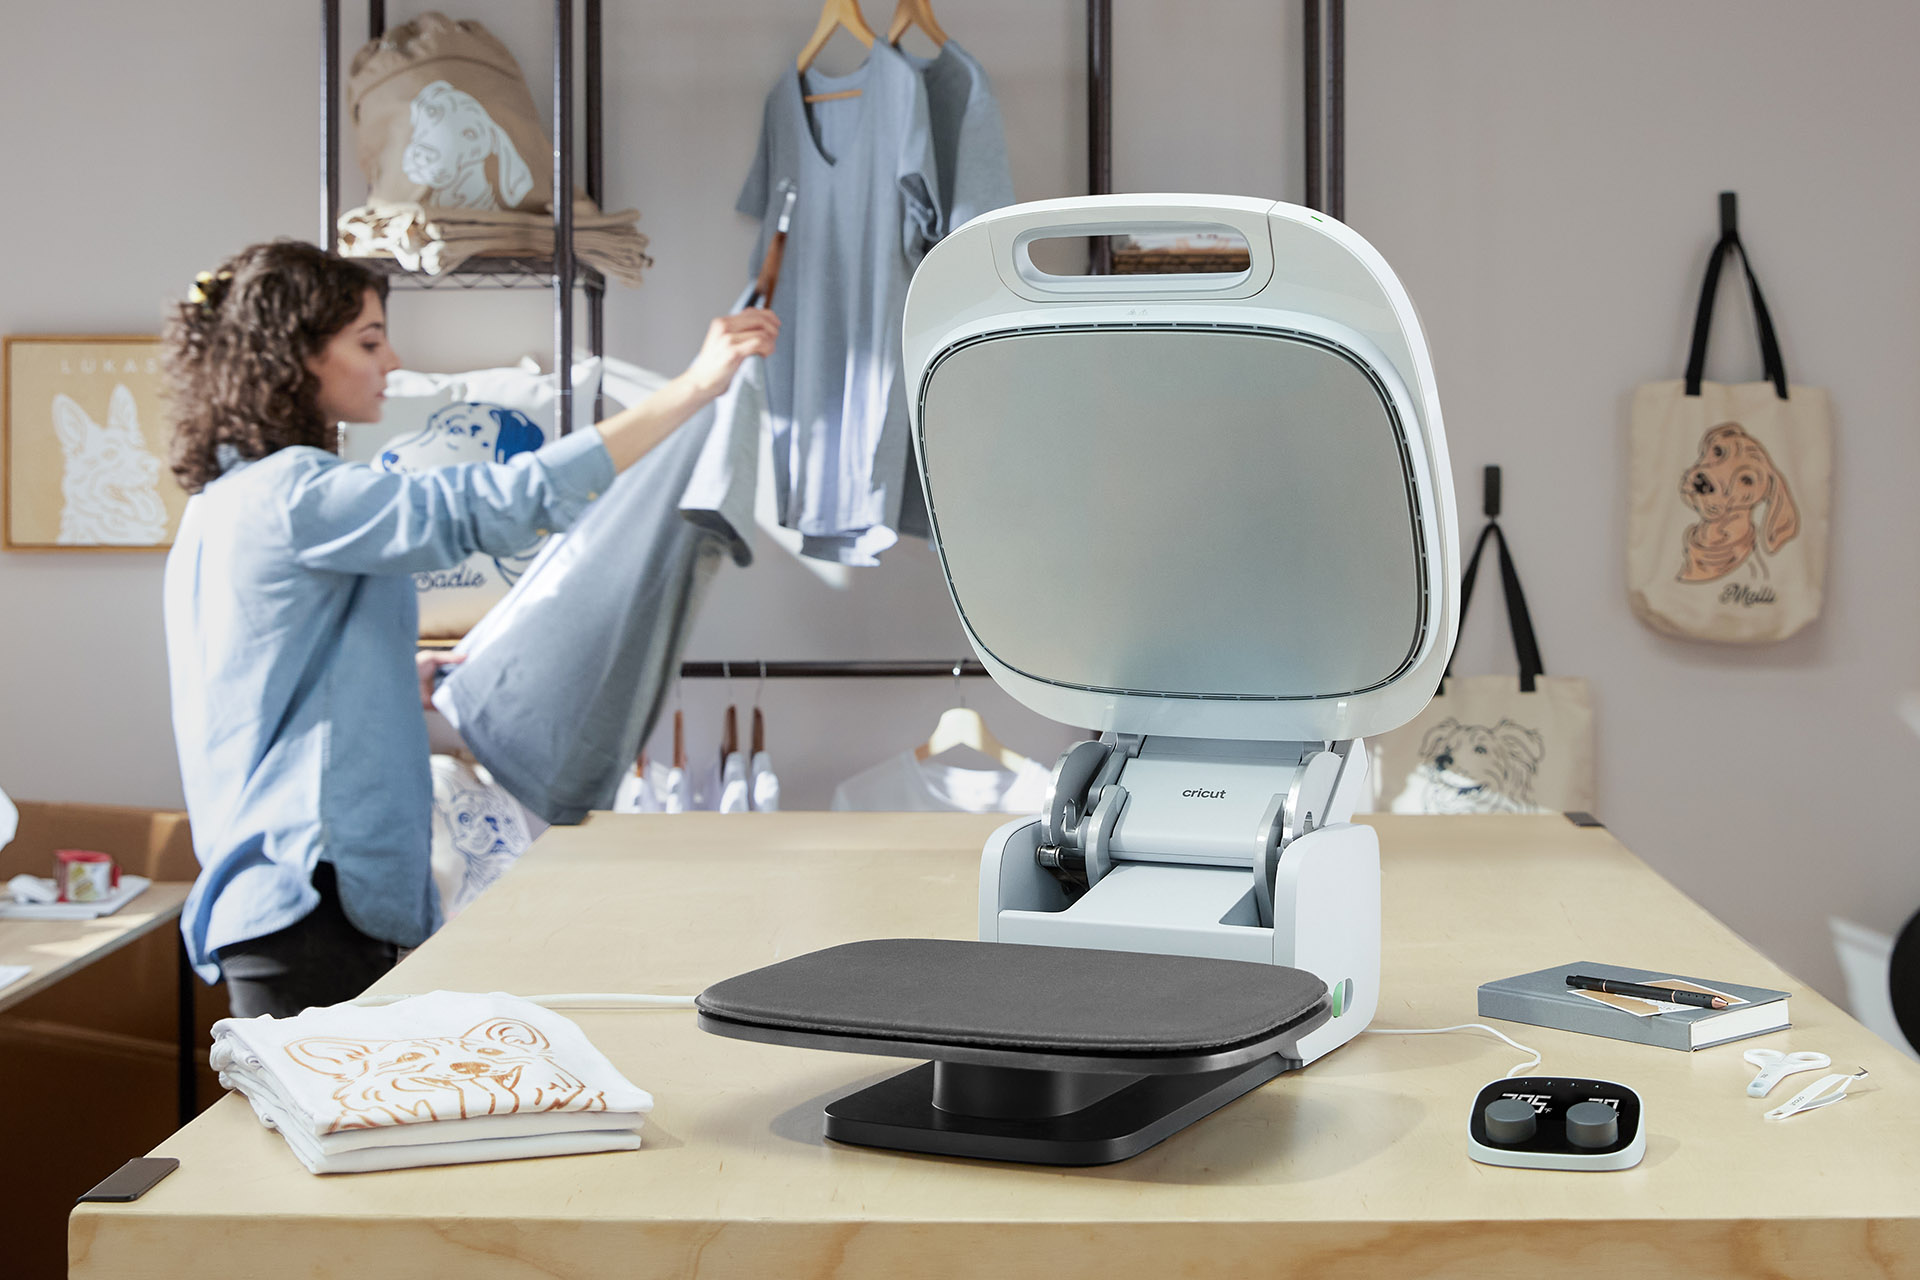
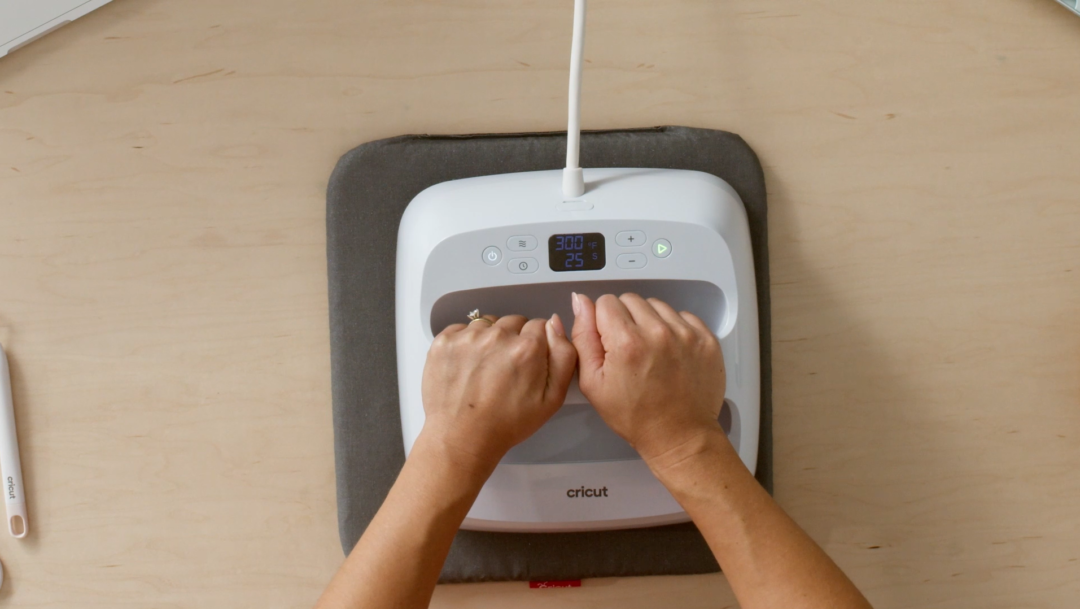
Preheat your Easy Press to the recommended temperature using Cricut’s heat guide. Jill is preheating hers to 300 degrees F for 45 seconds. Next, arrange your design on your blank how you want it. Once your Easy Press is ready, press your design for the recommended amount of time. Make sure you use two hands and give firm pressure to help your design adhere to the blank. Once the time is up, remove the Easy Press and wait for your project to cool.
Now peel off the backing and admire your project!
Not only will you enjoy making this baby milestone plaques project, but whoever you gift it to will love it as well! Make sure you share your creations with us on social media by using #cricut!

You Might Enjoy…